In this tutorial we are going to cover all the methods I use to generate fantastic-looking AI-generated art. If you feel anything is missing from this tutorial please give drop me a message in the comments and I will endeavour to get it included.
Workflow Tutorial
I have a few different workflows, and I have a lot of fun using each method. The differences between these different workflows really just relate to how much I am willing to let the AI take the helm. With some I have a very specific idea in mind and spend a lot of time crafting to get what I want. The other way I just see where the AI takes me.
The Additive Process Tutorial
First of all, you are going to need a basic idea in your head. Due to the nature of this technology, it can be hard to get exactly what you want. You will have to bend your idea a little bit to work with the results you get.
So start with the basics and build upon them. Let’s start with an image of a mountainside and see where we can take it.
So try these prompts and see what you get – I will share my results below. You can copy and paste these prompts or come up with your own ideas.
/imagine prompt: a mountainside
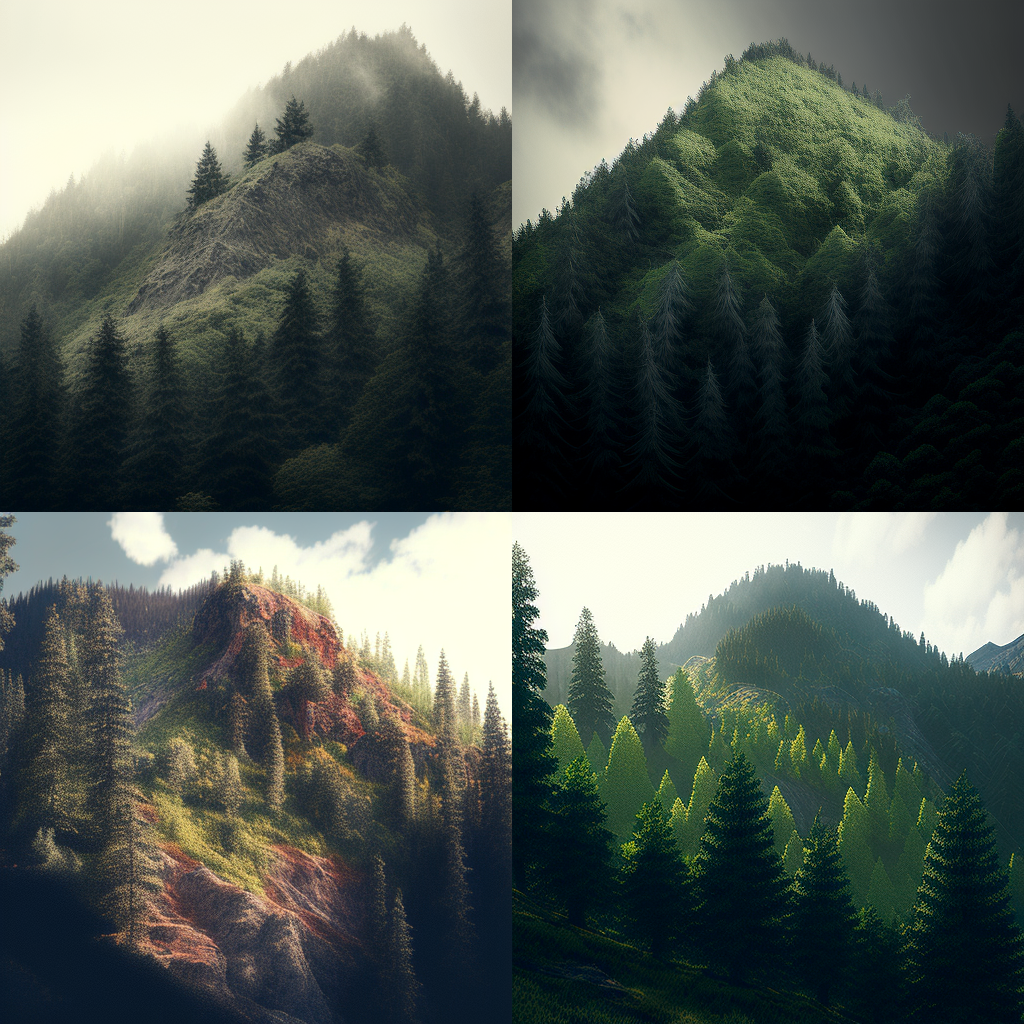
/imagine prompt: a mountainside covered in trees
/imagine prompt: a mountainside covered in trees. dslr photo
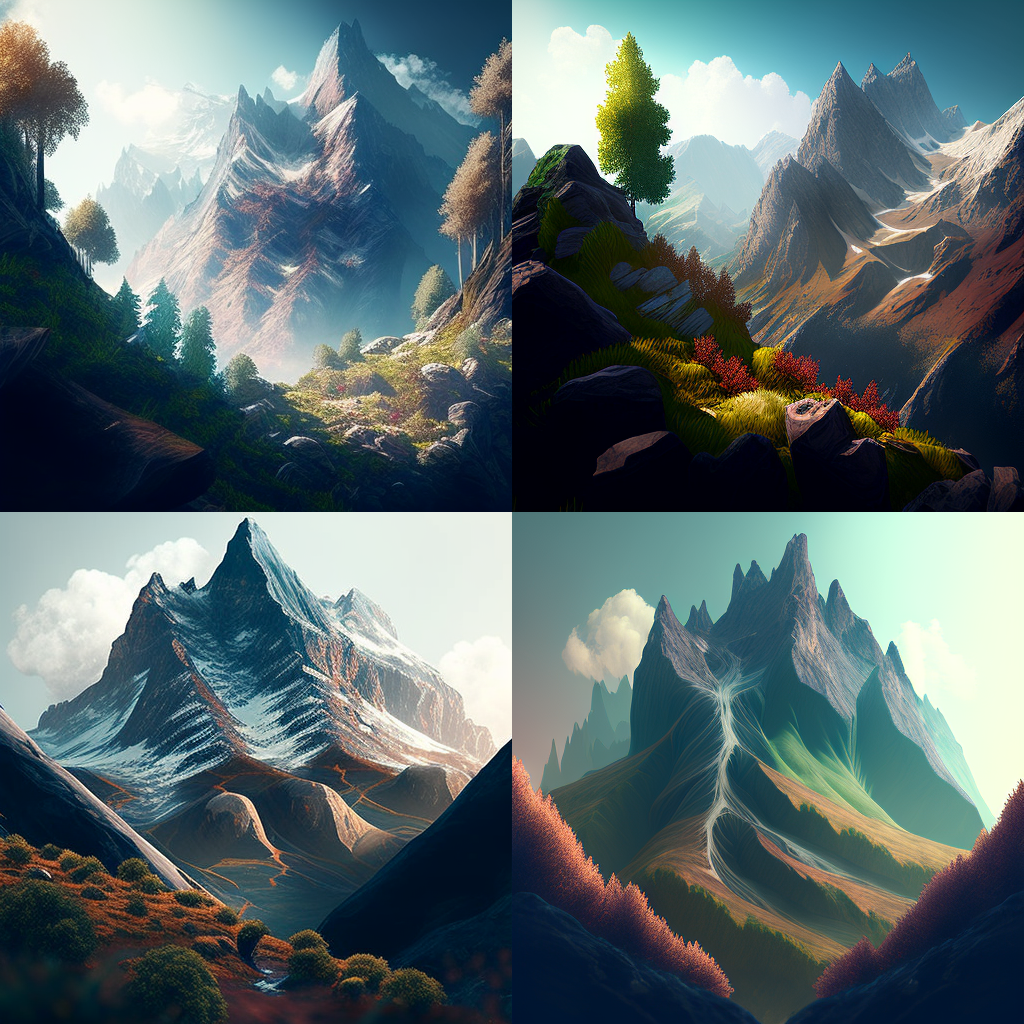
/imagine prompt: a mountainside
This produces us our initial image of a mountainside.

/imagine prompt: a mountainside covered in trees
This adds trees to our mountainside scene.
/imagine prompt: a mountainside covered in trees. dslr photo
This changes the style of the scene to a more photo-like image.
Each time you iterate you can see how it changes the scene. If at any point something isn’t exactly how you wanted it you can add or remove things. You can change the terms to get closer to your vision. Later we will cover how to add weights to aspects of the image to get closer to what you want.
If at this stage you are struggling to get what you want you can get closer to your vision by using photo URLs which are covered later in the tutorial.
Getting Poetic Tutorial
Some of the best results from Midjourney can come from poetic and descriptive language. Try to focus more on what you do want rather than what you don’t want. We will cover that later.
Using poetic language can yield some very interesting results although they will vary greatly generally and sometimes this is a good thing. Below are some examples.
You can also attempt to type in complete gibberish. Midjourney will not reject a prompt just because it contains a spelling mistake or
As an artist, many times I look at AI as a form of television. It’s entertainment for me, but I am in charge, and the controller has a few billion buttons! I enjoy typing random things, but many times the results are amazing and might inspire bigger ideas. Try simple juxtapositions, lyrics from a Grateful Dead song, or pull a quote from the Bhagavad Gita and run a few variations. Let’s see what these look like in Version 4.
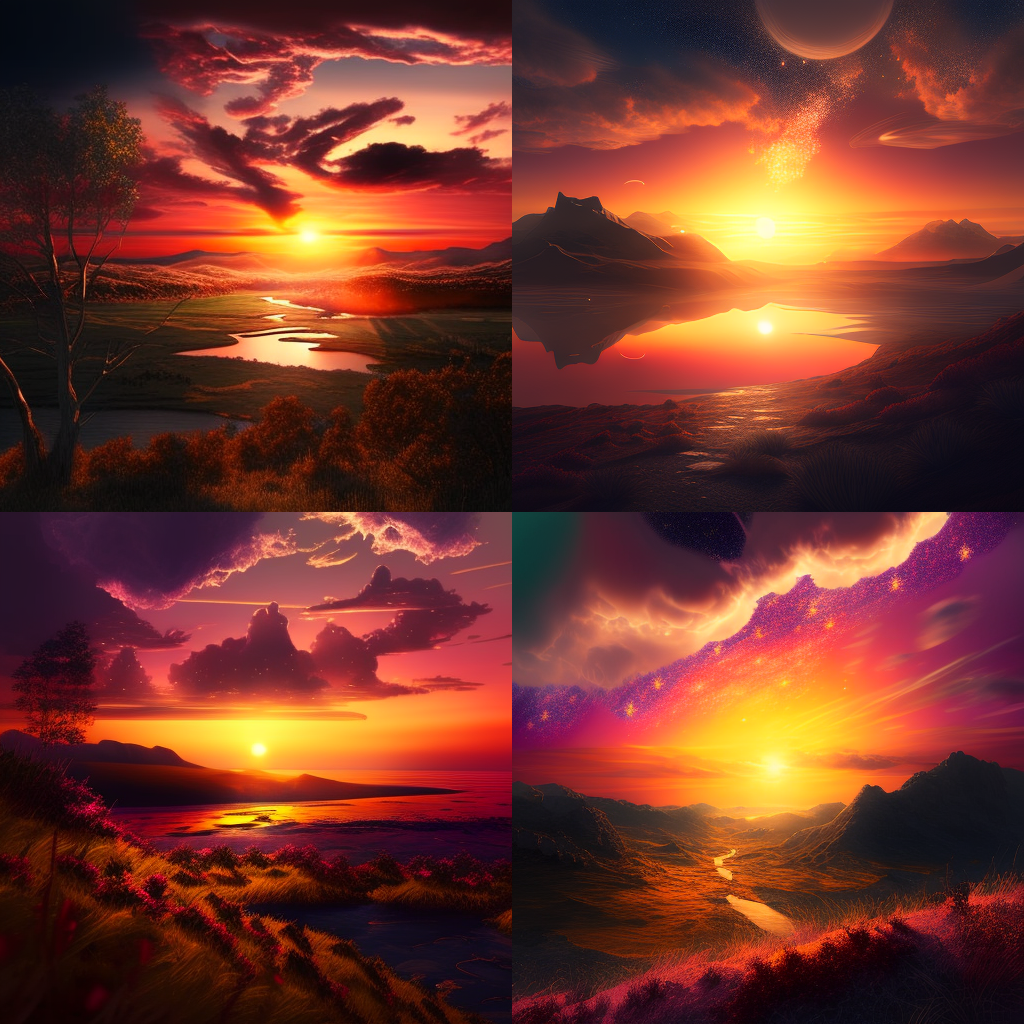
/imagine prompt: a glorious sunset over an inspirational landscape.
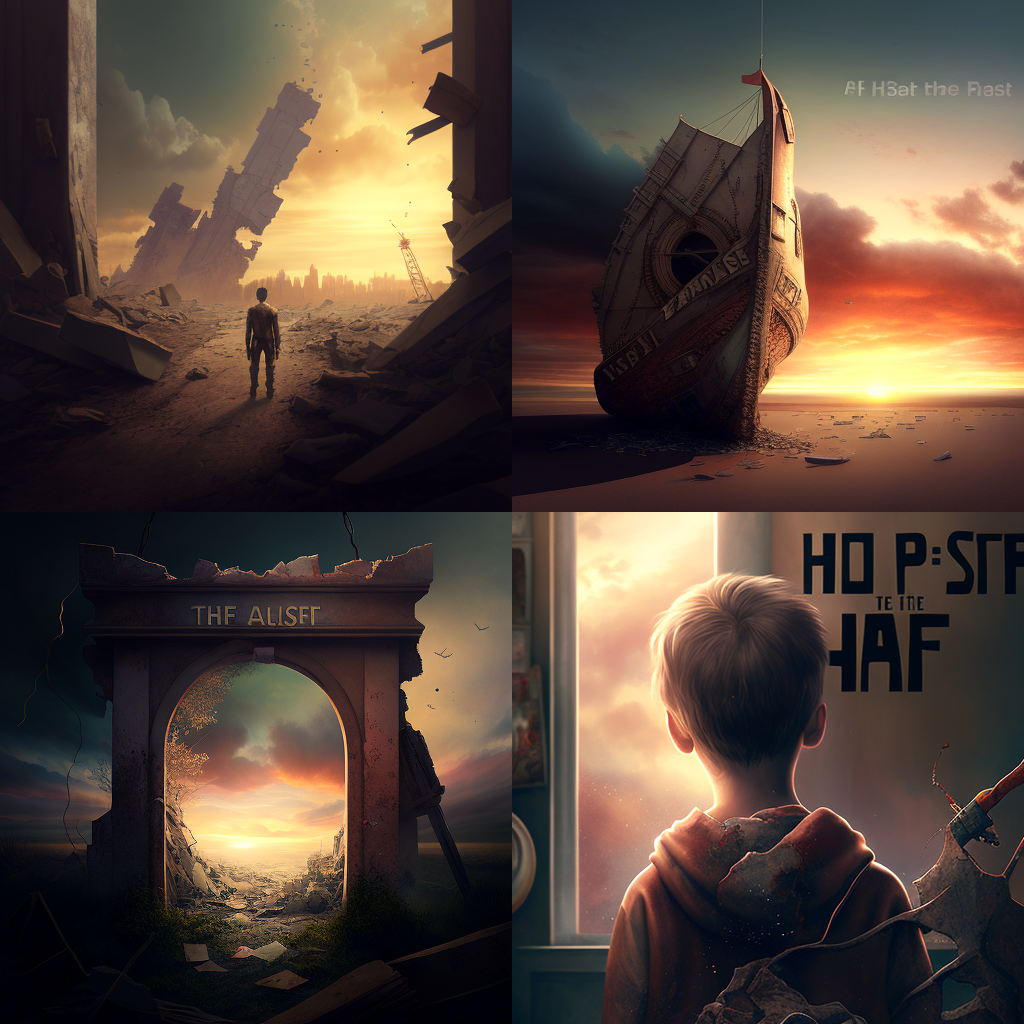
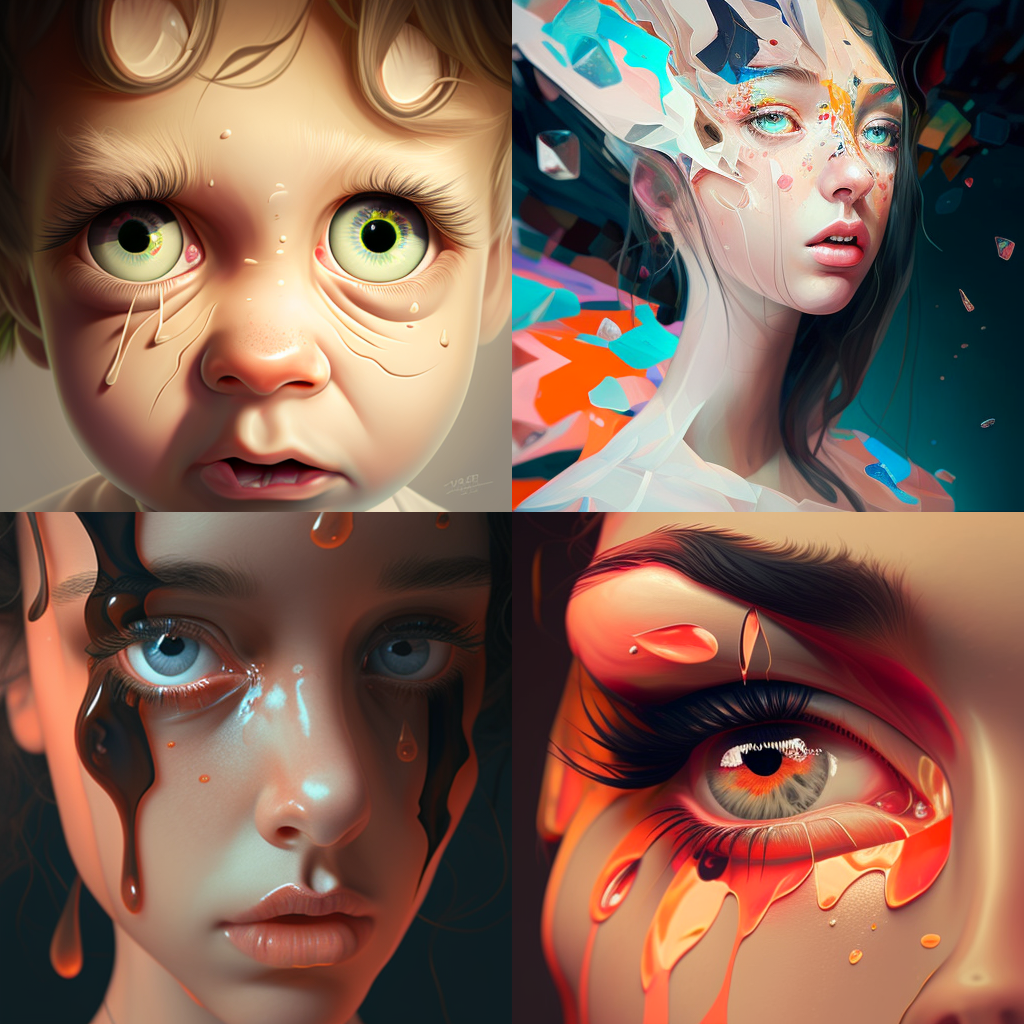
/imagine prompt: the last piece of hope.
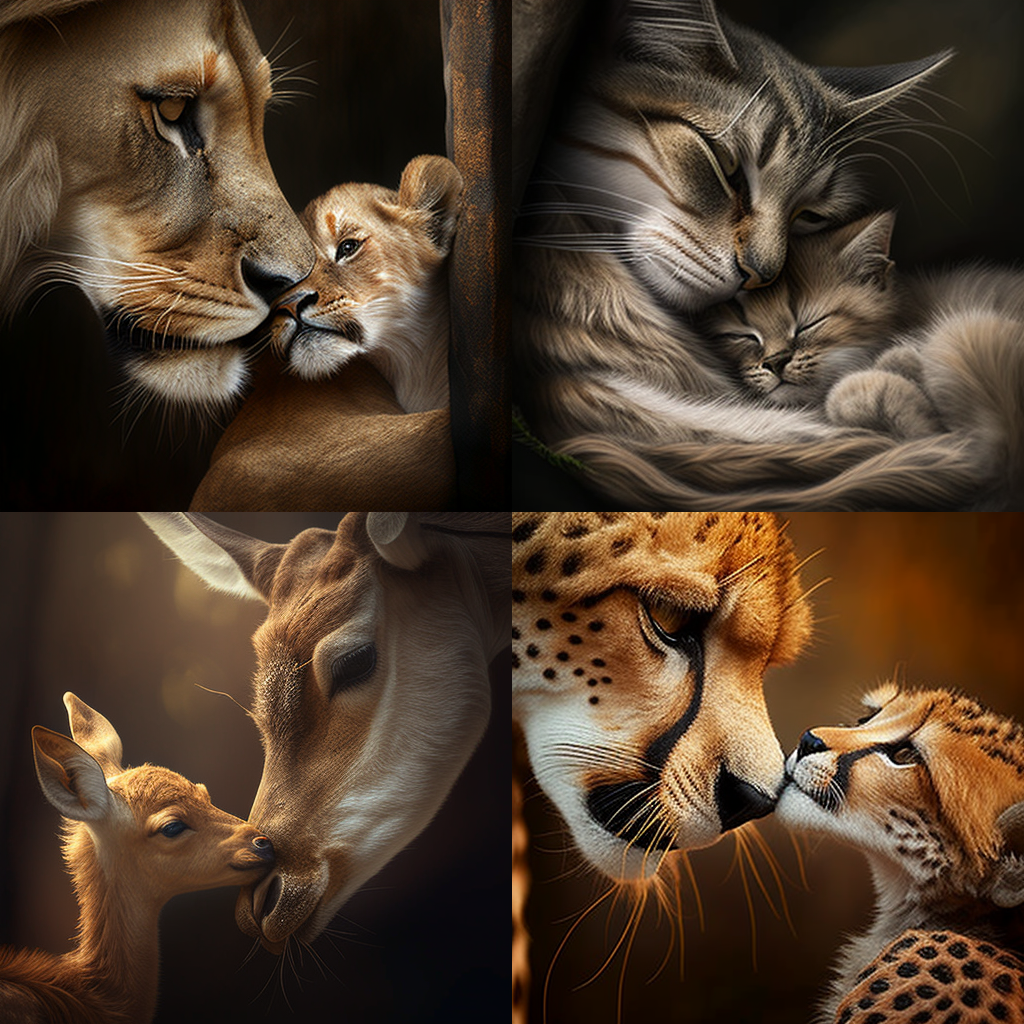
/imagine prompt: a mothers love.

/imagine prompt: a happy little tree
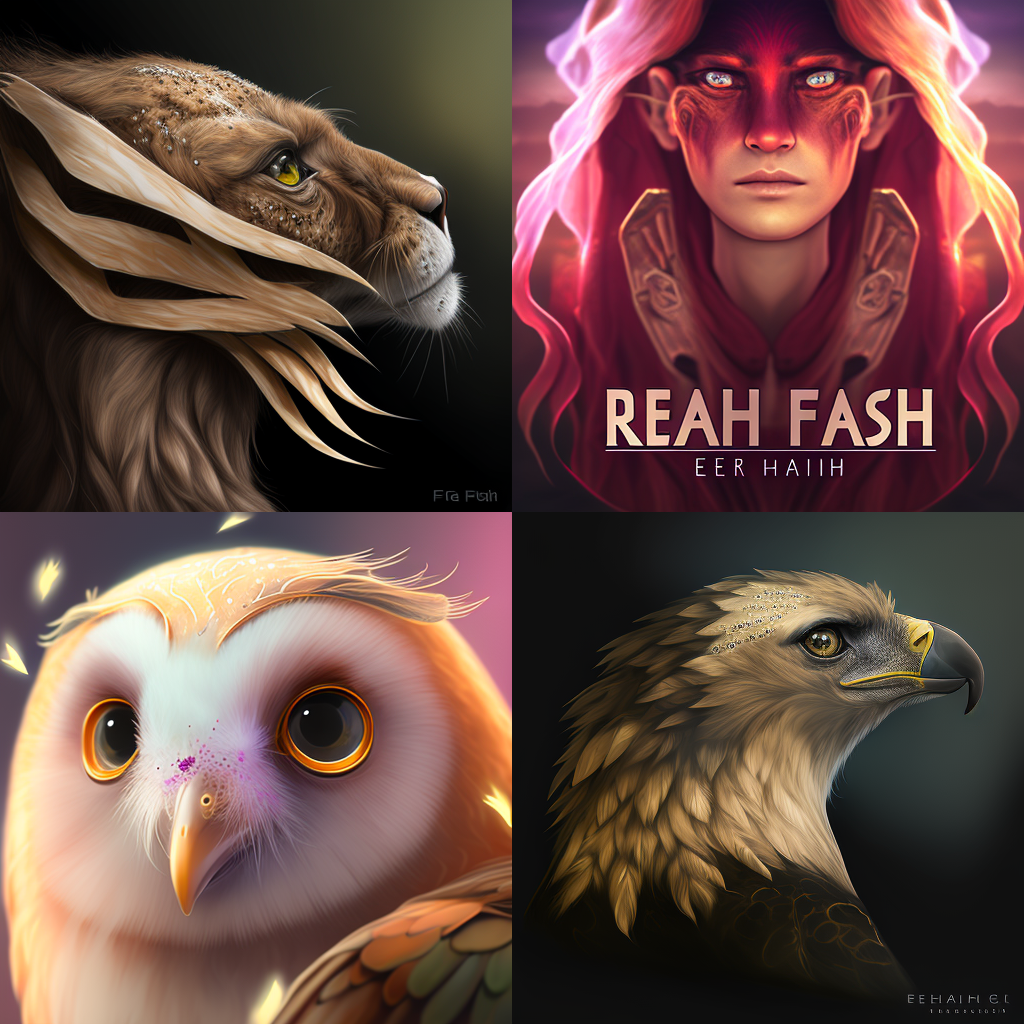
/imagine prompt: feh feiahf ewih gewahg rgahi reiarohi
/imagine prompt: %%%%%%%%%%%%^^^^&&&&&
Using Image Inputs Tutorial
So as you can see text prompts can produce some spectacular results. But, maybe you have something very specific in mind – or want to make a profile picture on social media of yourself. So how do you get your own images into Midjourney and then use them? The process is quite simple.
If your image is already on the internet and visible for all to see all you need is the URL.
Here is an image from one of our partner sites TAGdesk.org
the URL is: https://tagdesk.org/wp-content/uploads/2023/01/image_2023-01-20_171554573.png
Now let’s imagine this scene but in outer space. We can do this by simply adding the URL to the prompt and specifying outser space afterwards:
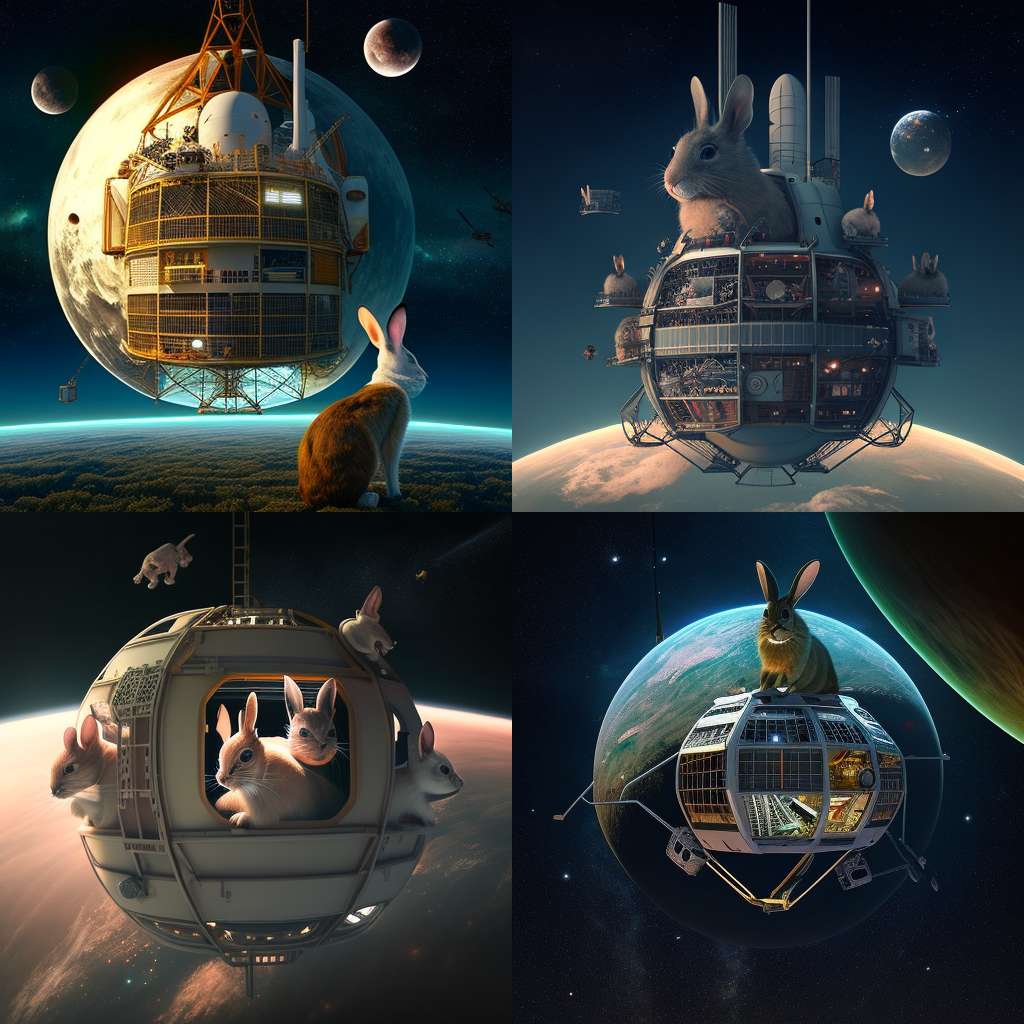
/imagine prompt: https://tagdesk.org/wp-content/uploads/2023/01/image_2023-01-20_171554573.png outer space.
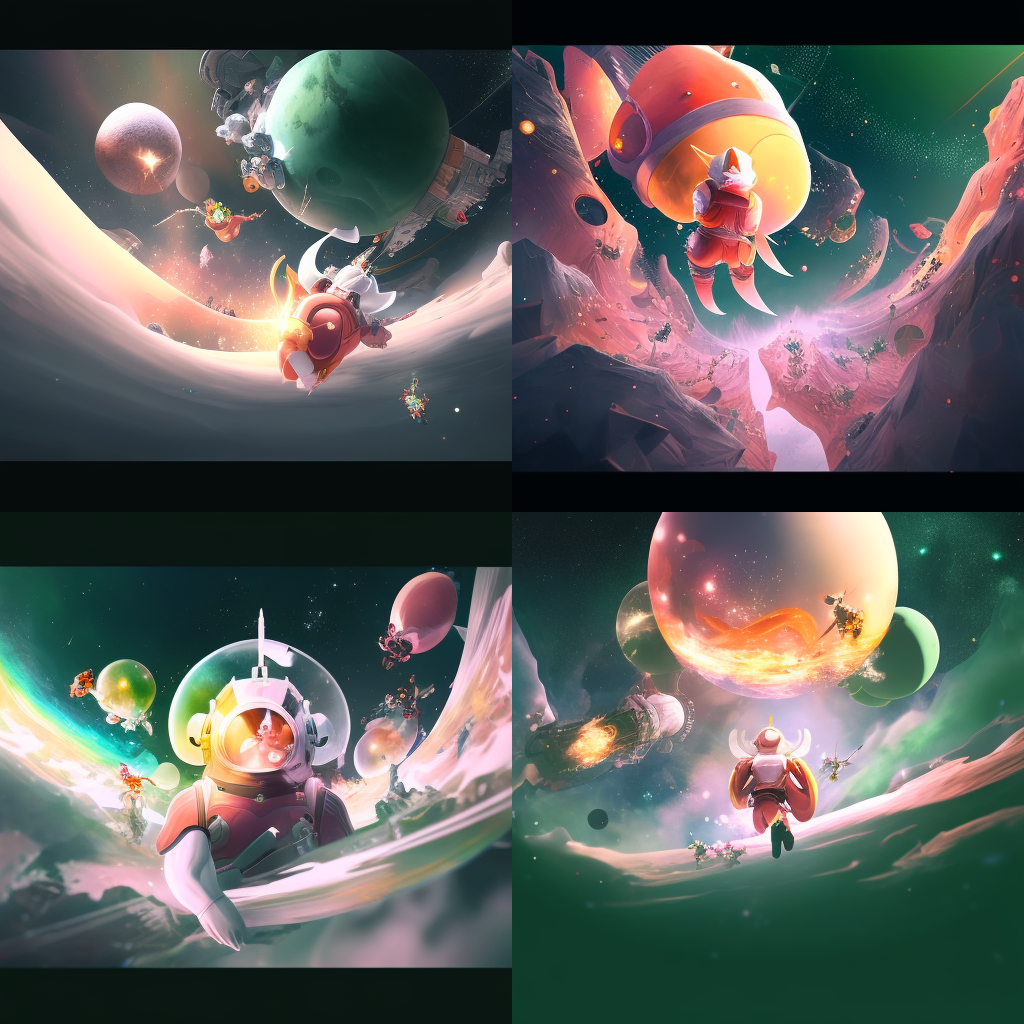
As you can see, whilst maintaining most of the style it has re-imagined the scene in outer space.
In the event your image is on your local server you will need to upload it to discord. Once uploaded to discord you can right-click on it and choose the option “copy link” to get the URL.
Better Prompt Writing Tutorial
The more descriptive you get, the better your image outputs will be. You should try and break down the prompt into sections with descriptors. Look at the examples provided below to see what a huge difference descriptors make to your outputs. These descriptors can relate to the style of the image you want or just provide Midjourney with extra information on what to display.
Below we have the following prompts:
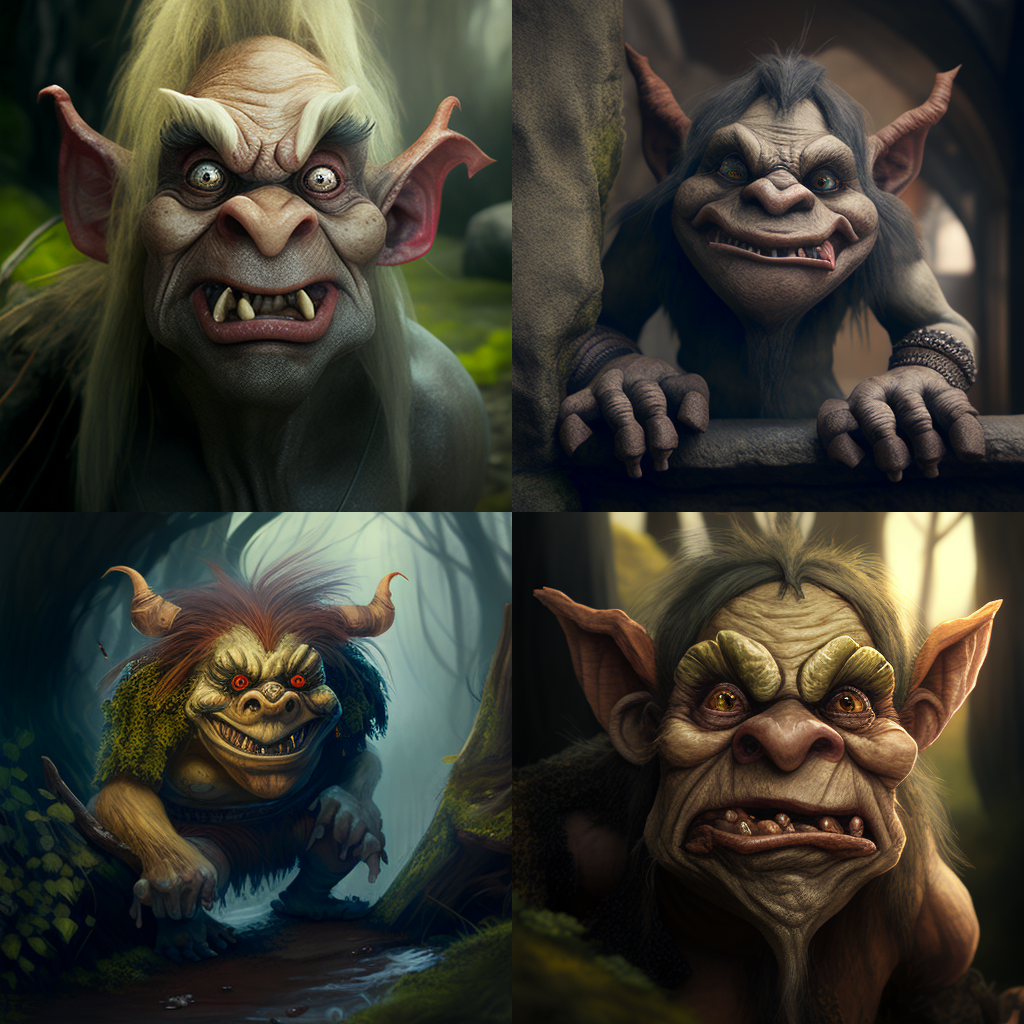
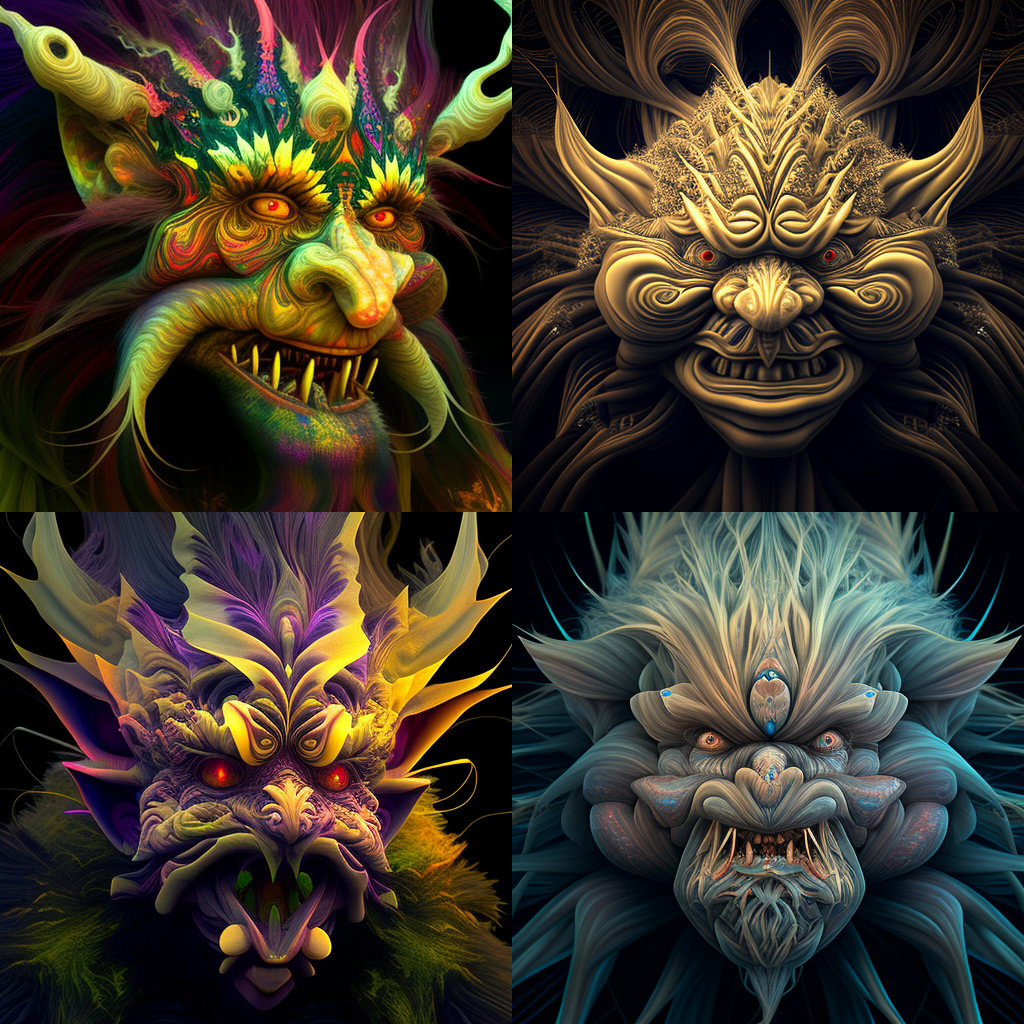
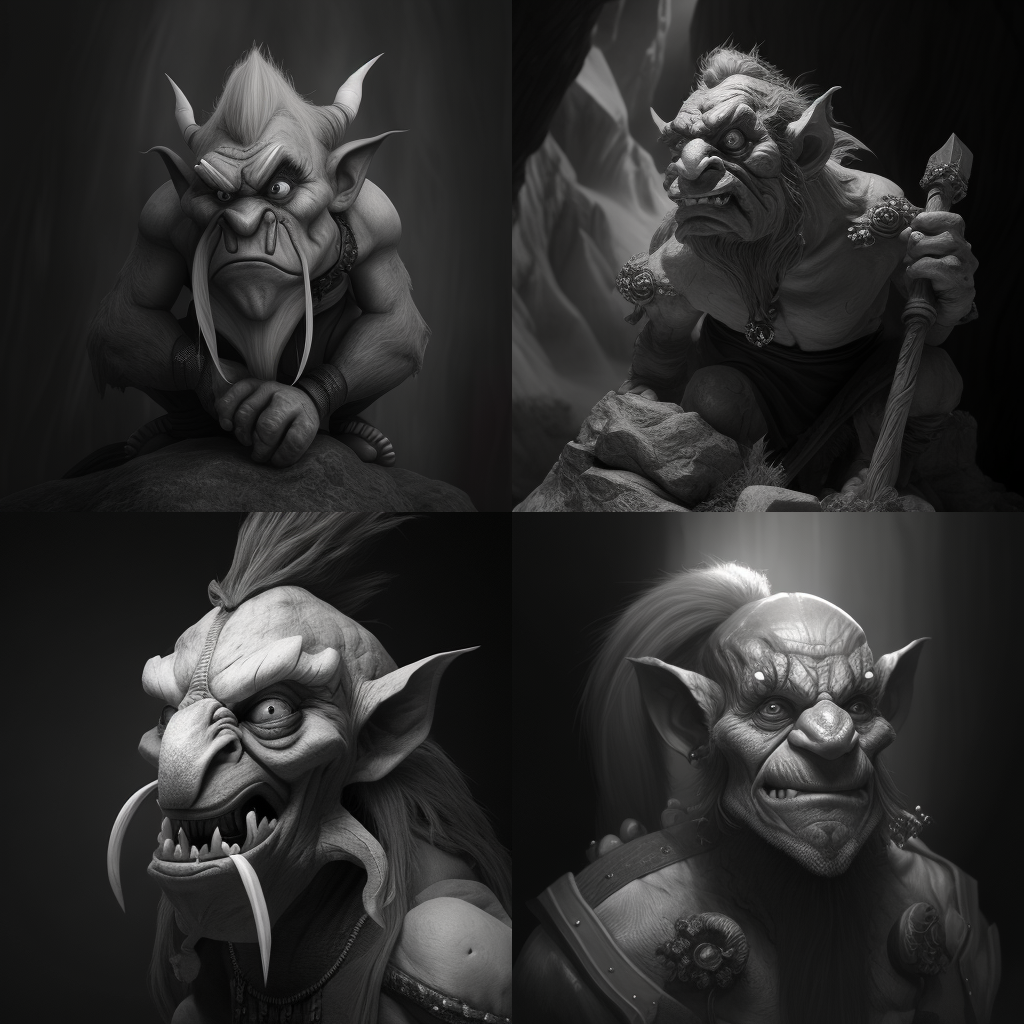
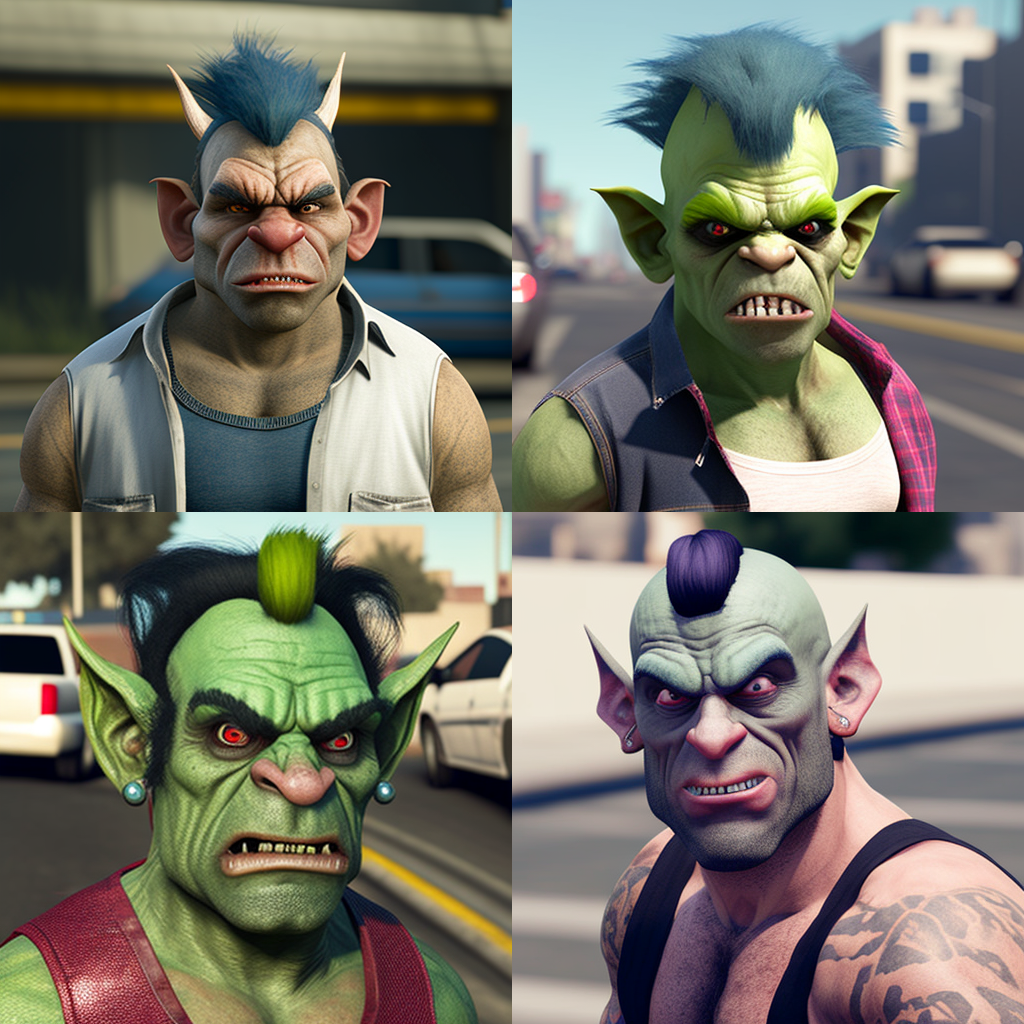
/imagine prompt: a troll
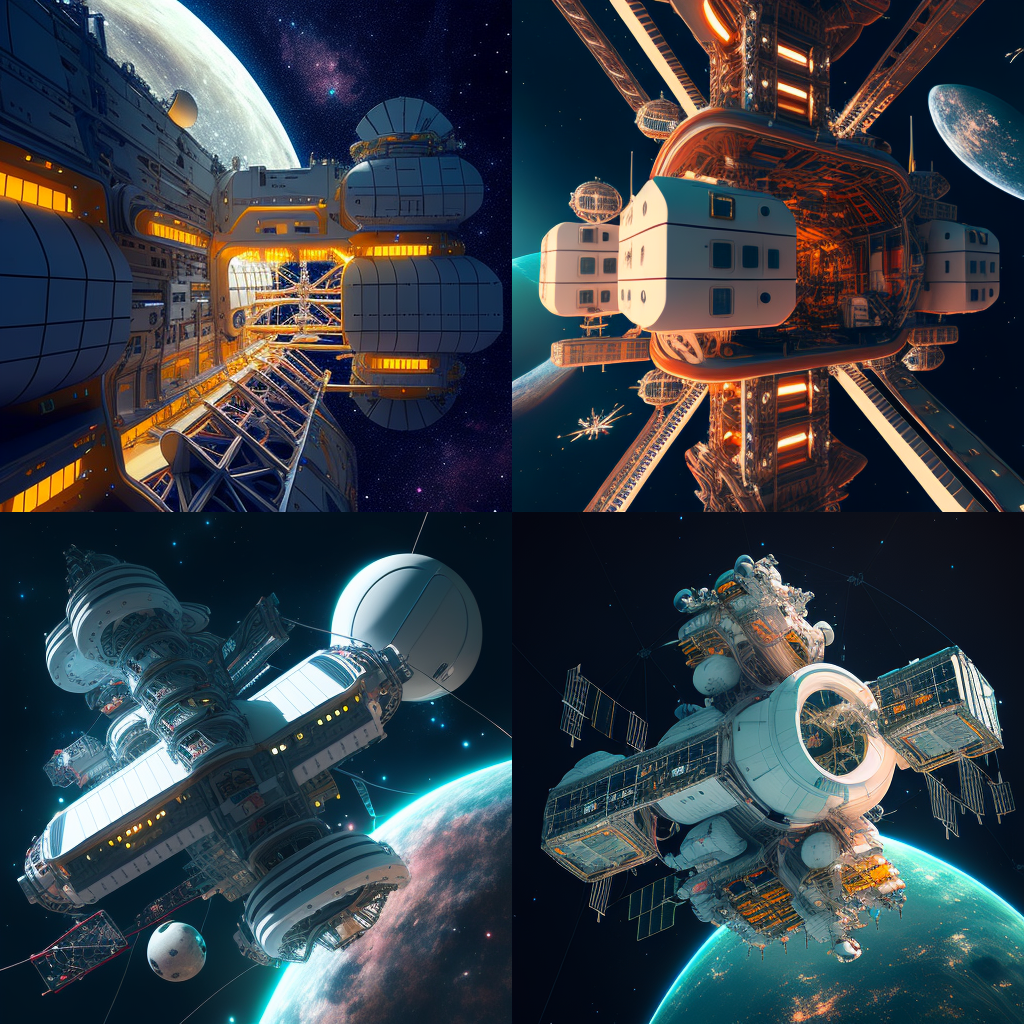
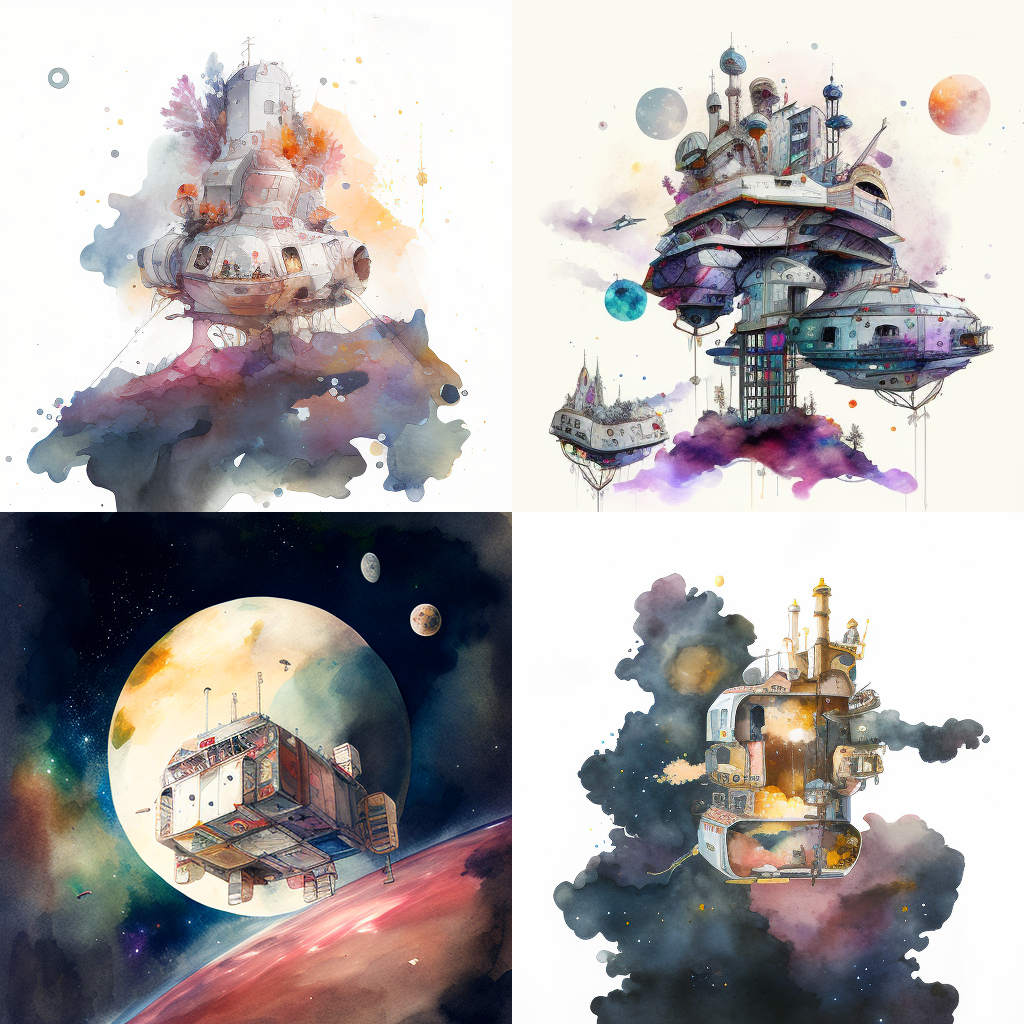
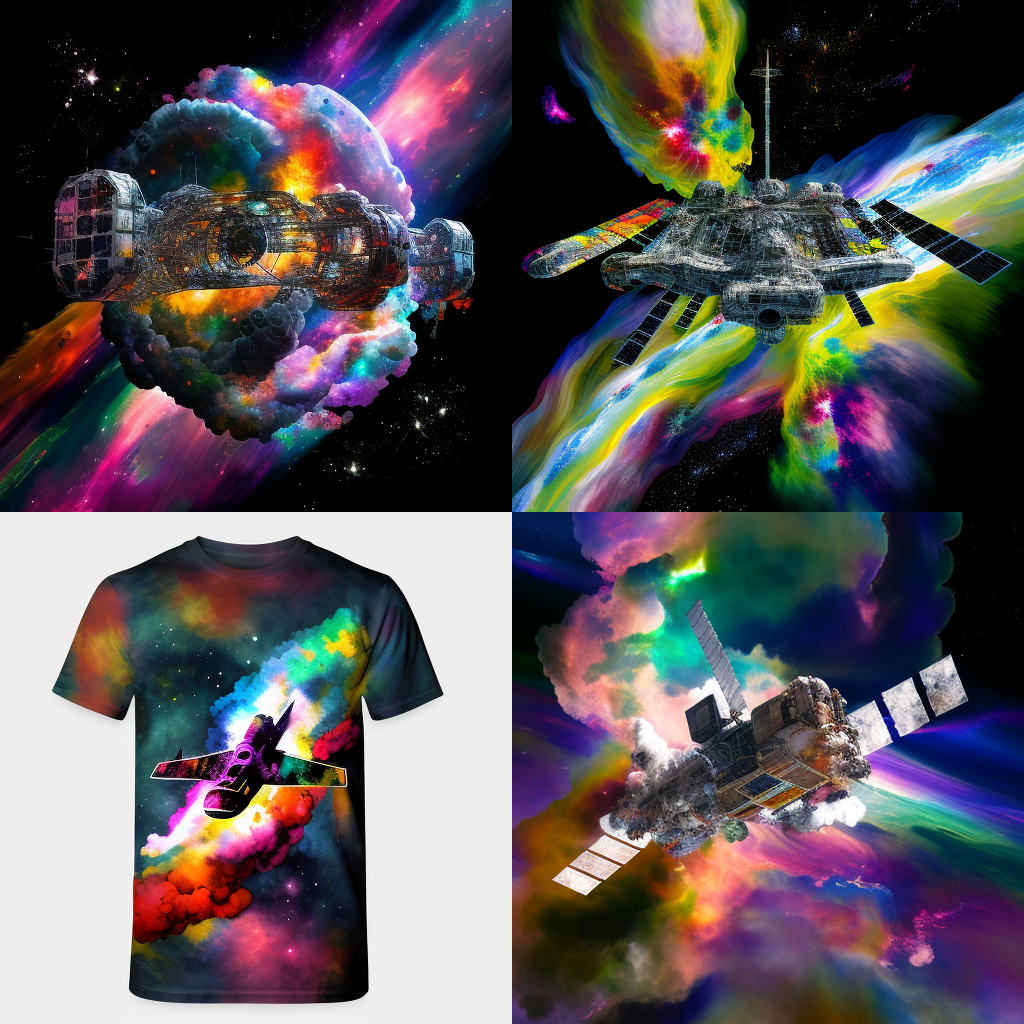
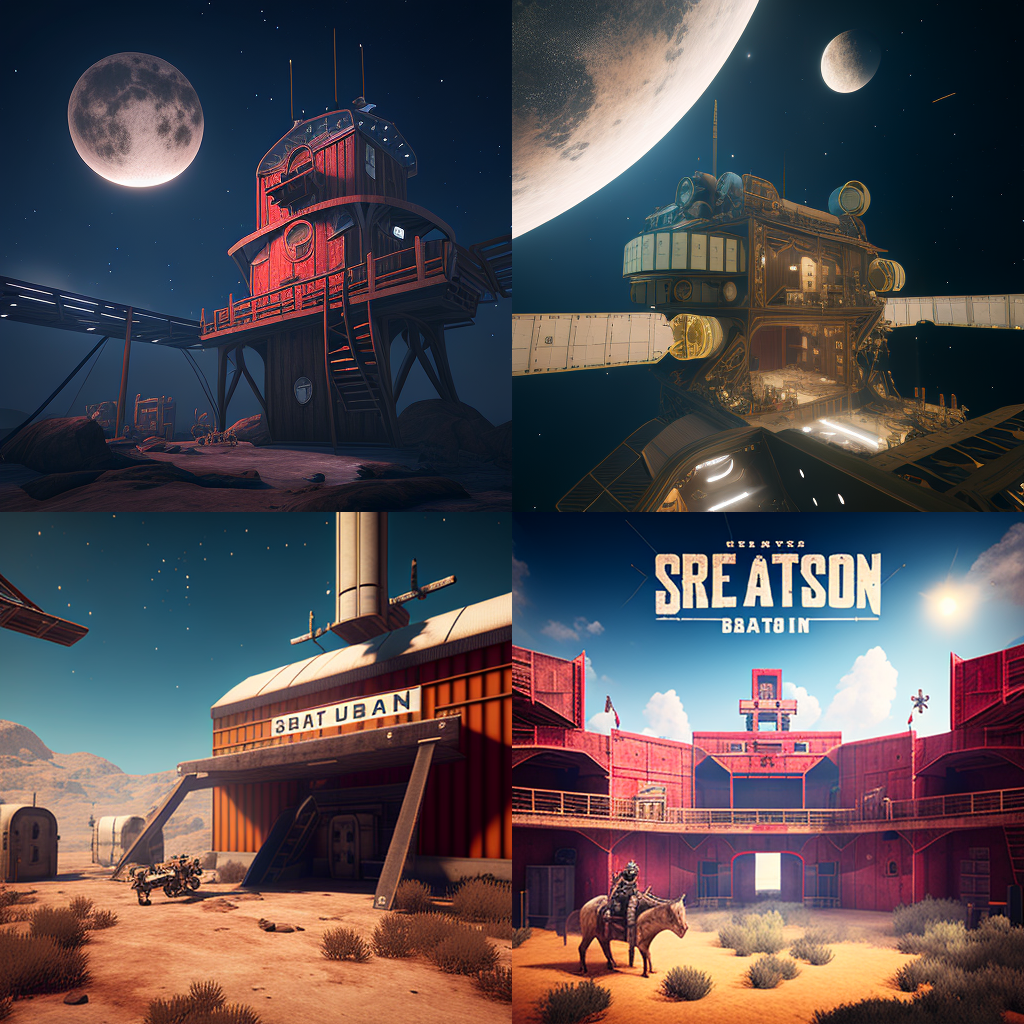
/imagine prompt: a space station
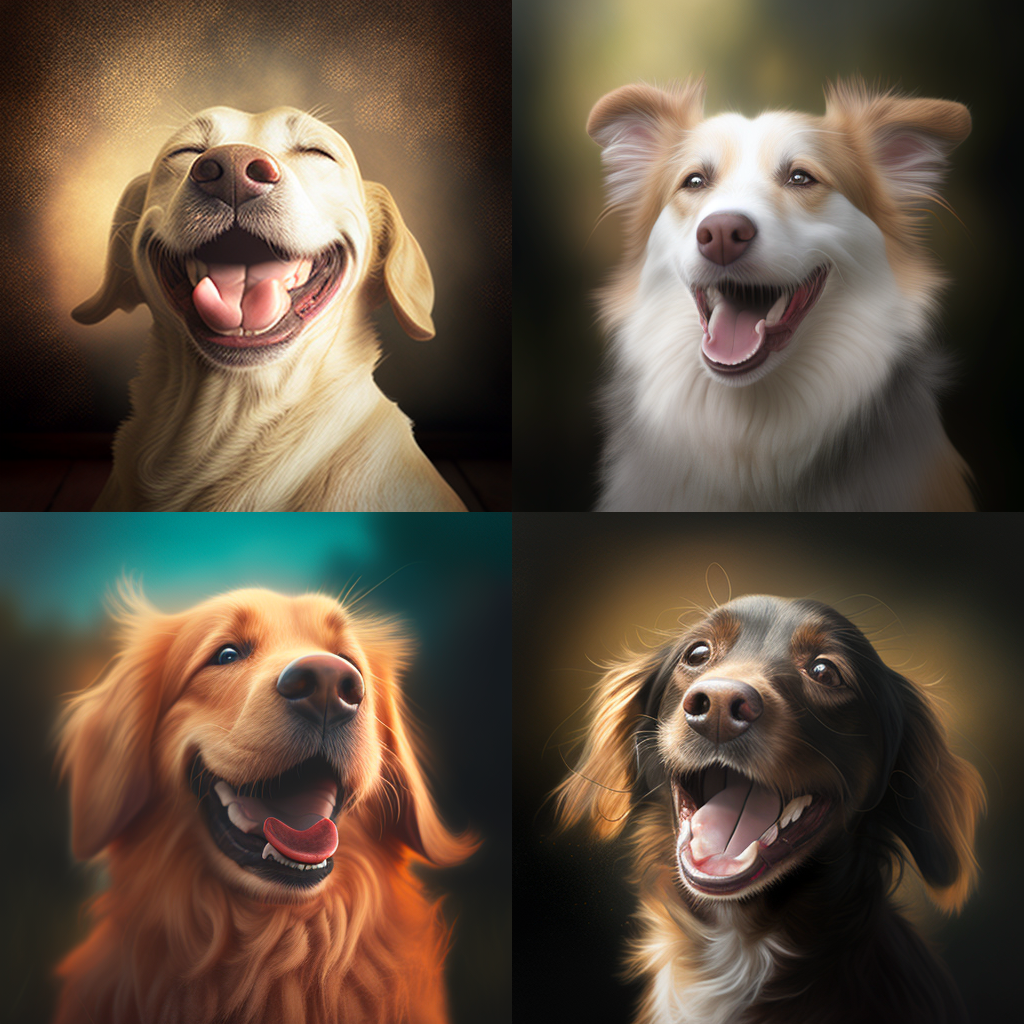
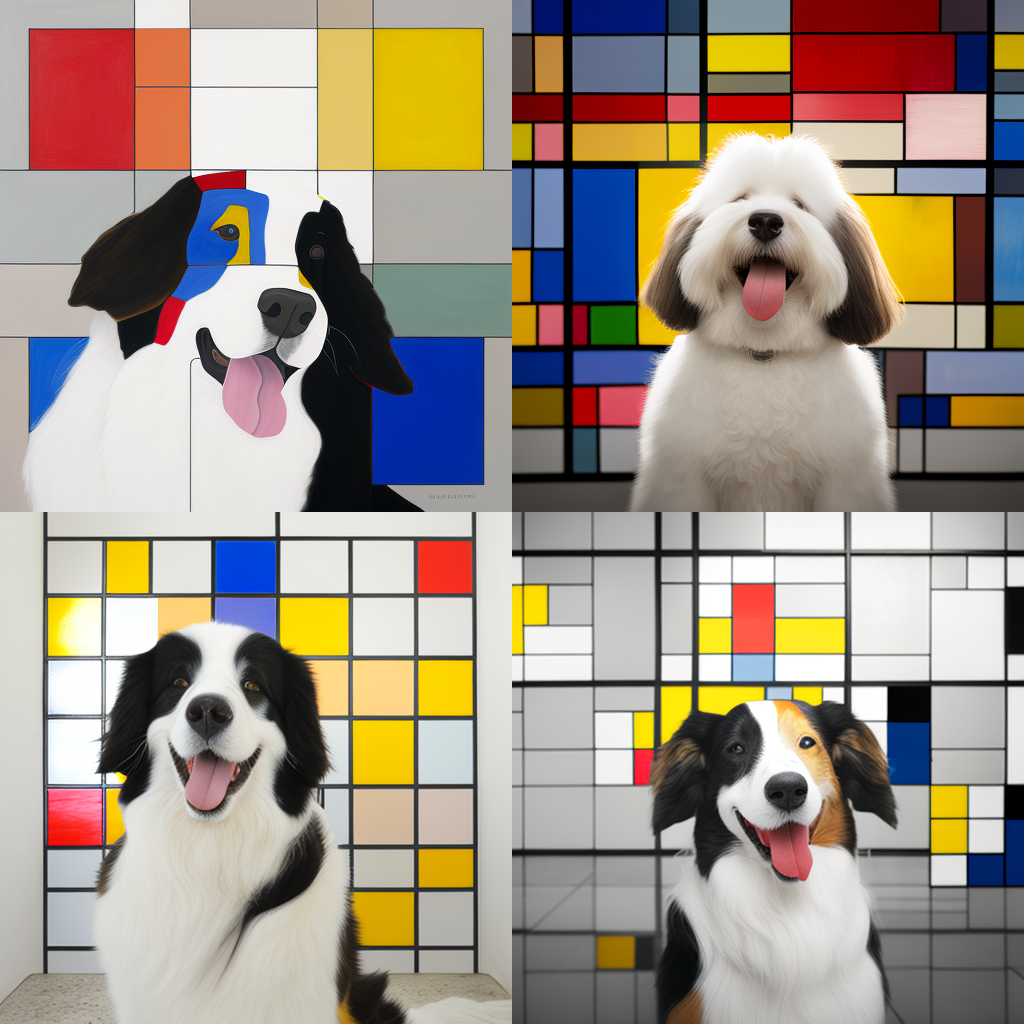
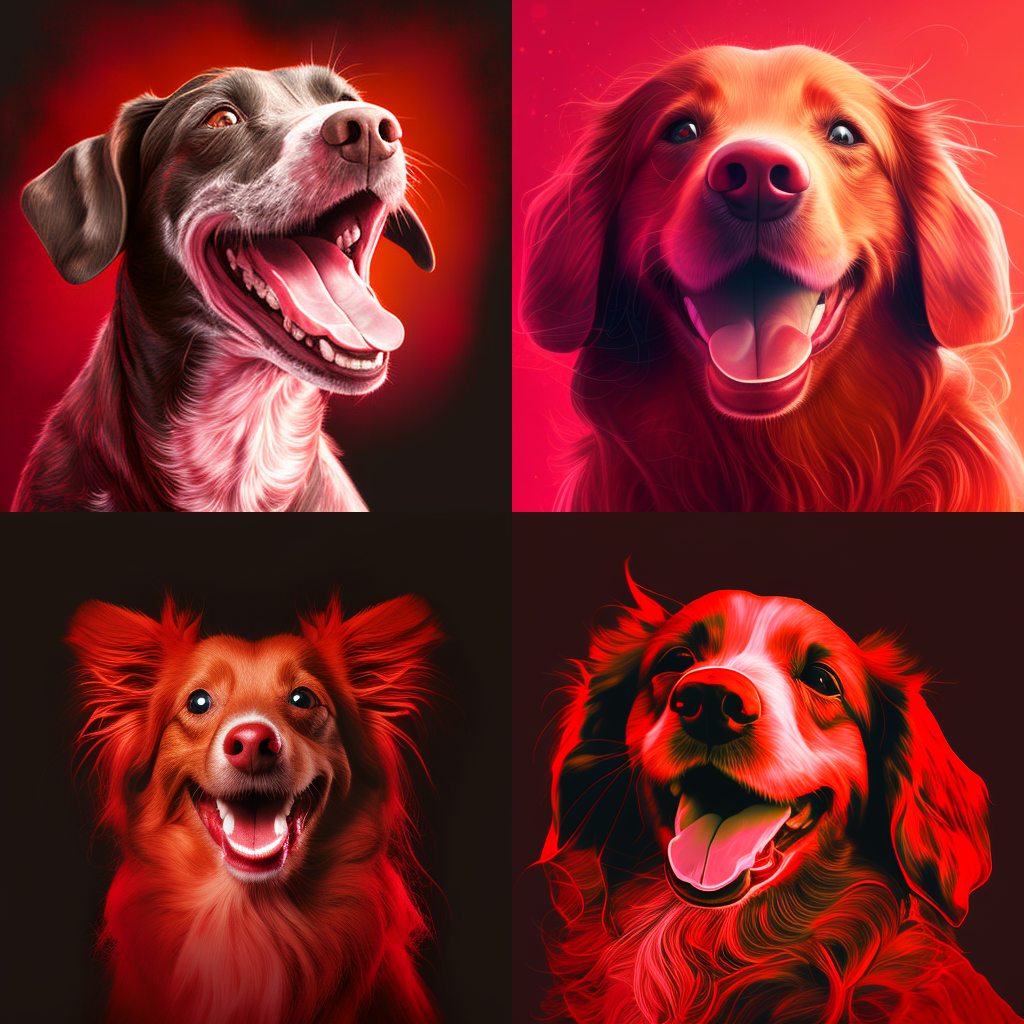
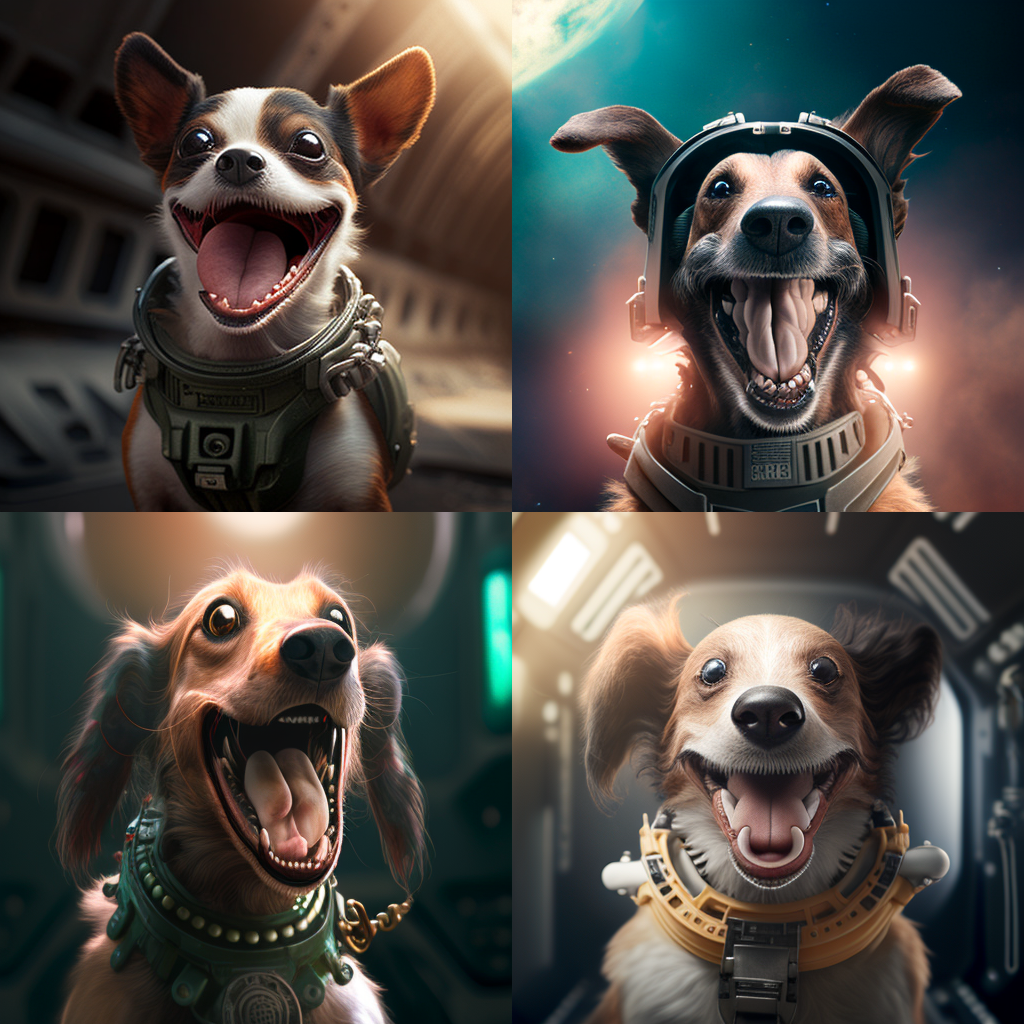
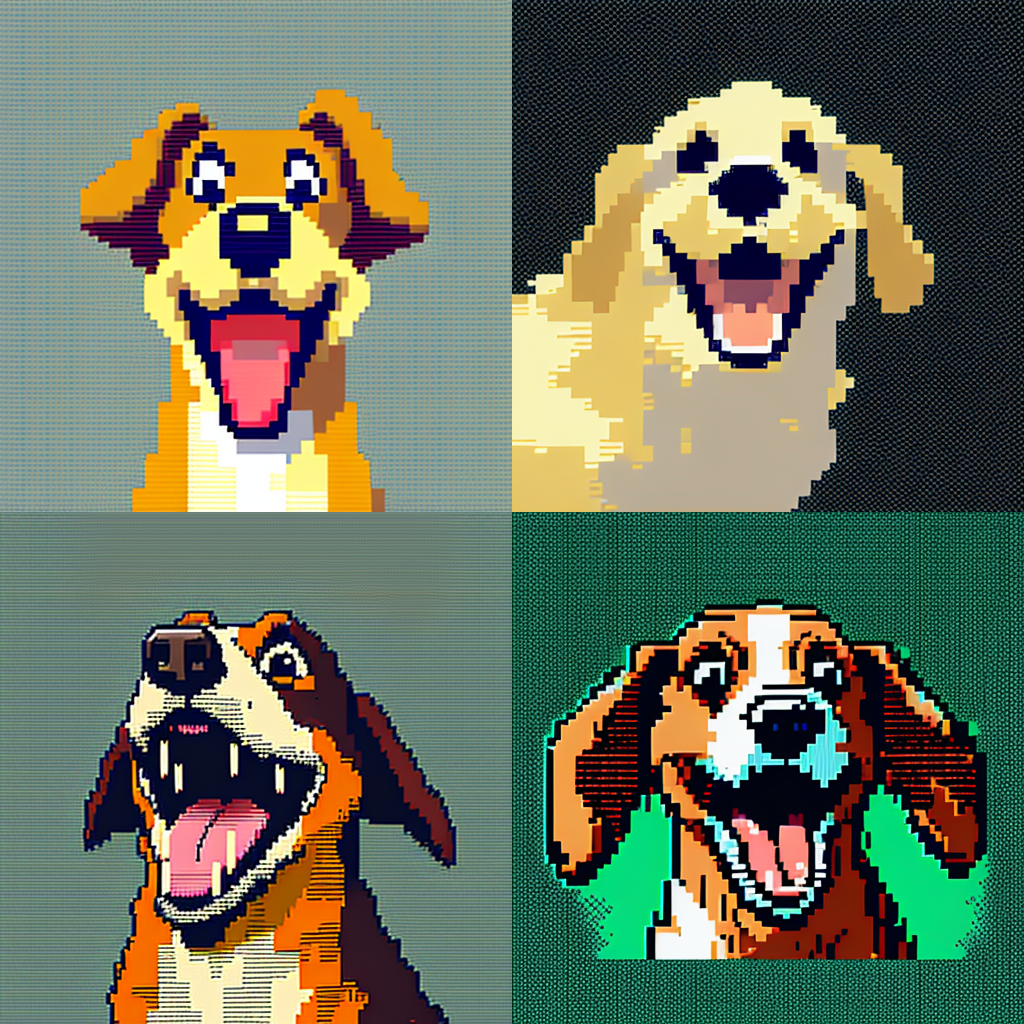
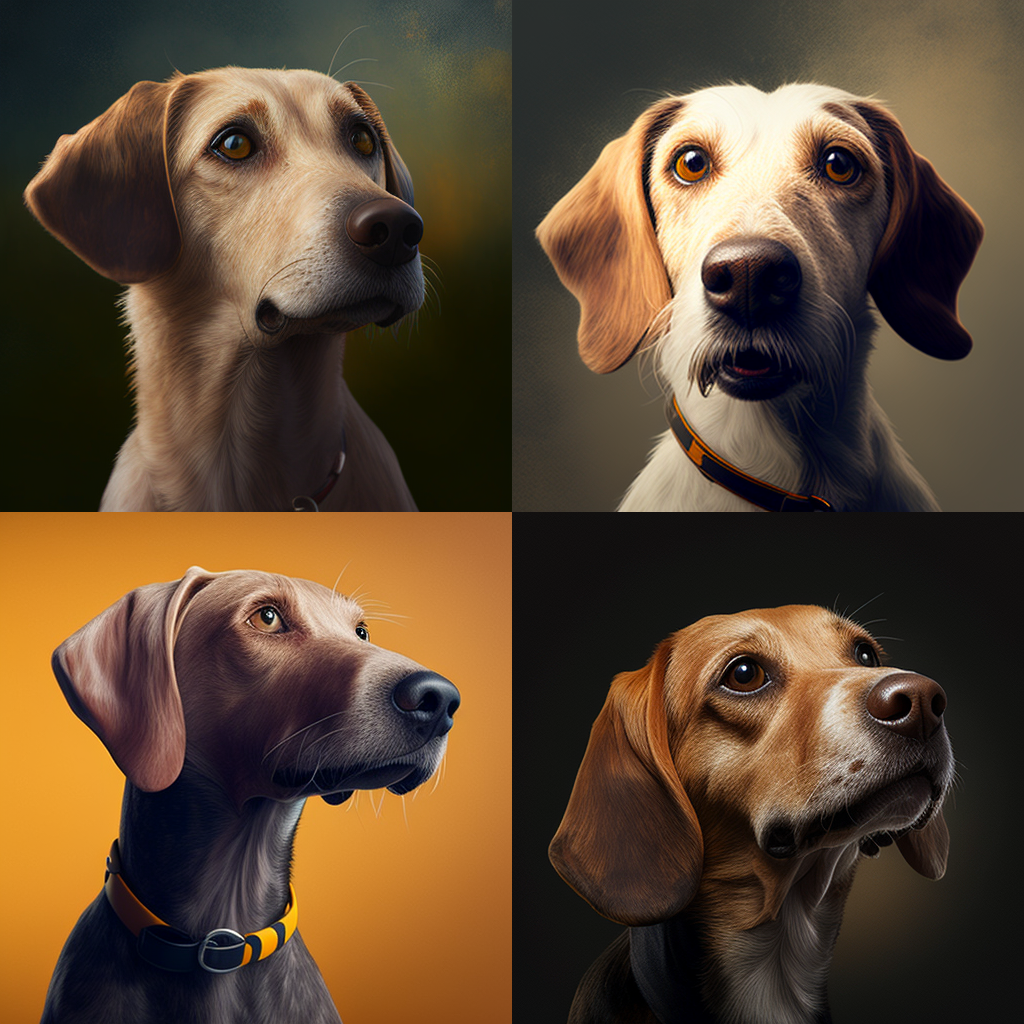
/imagine prompt: a happy dog
Now lets add some descriptors to the prompts:
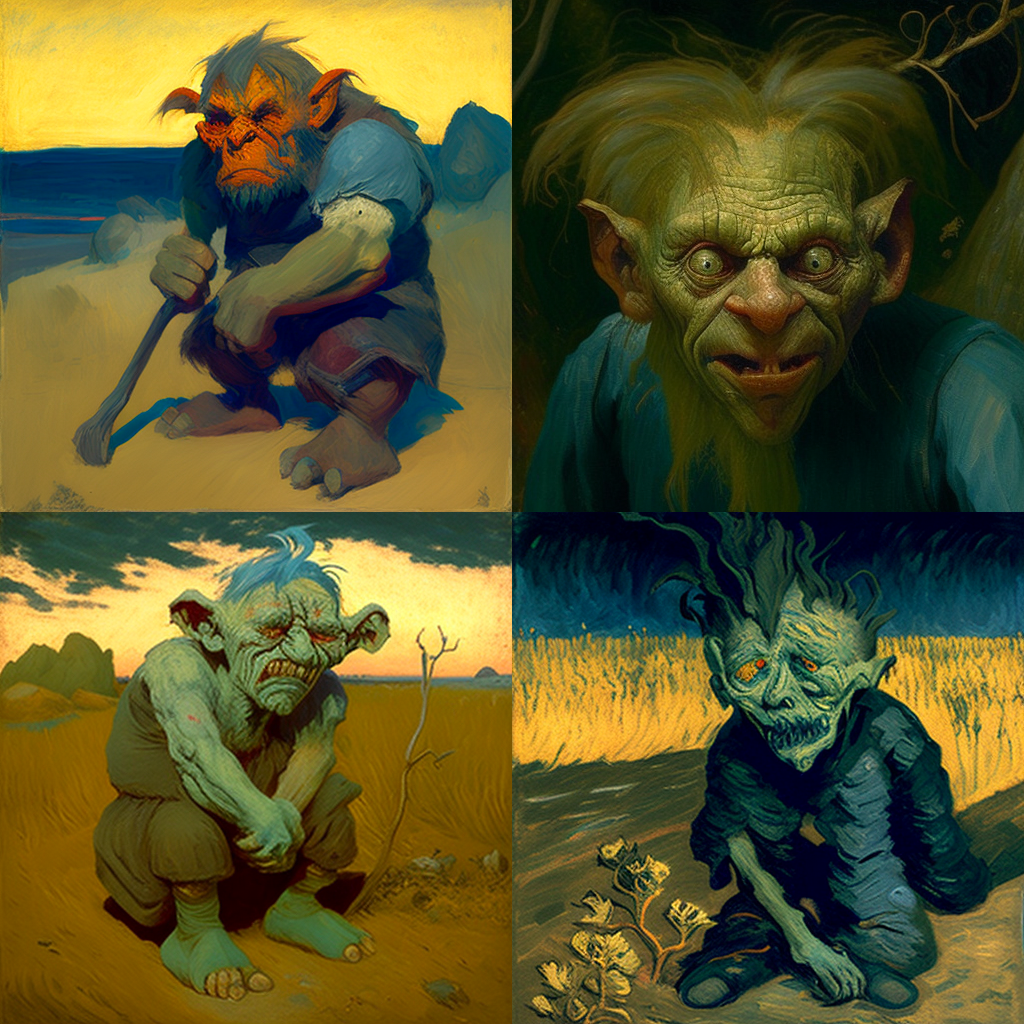
/imagine prompt: a troll, fractal
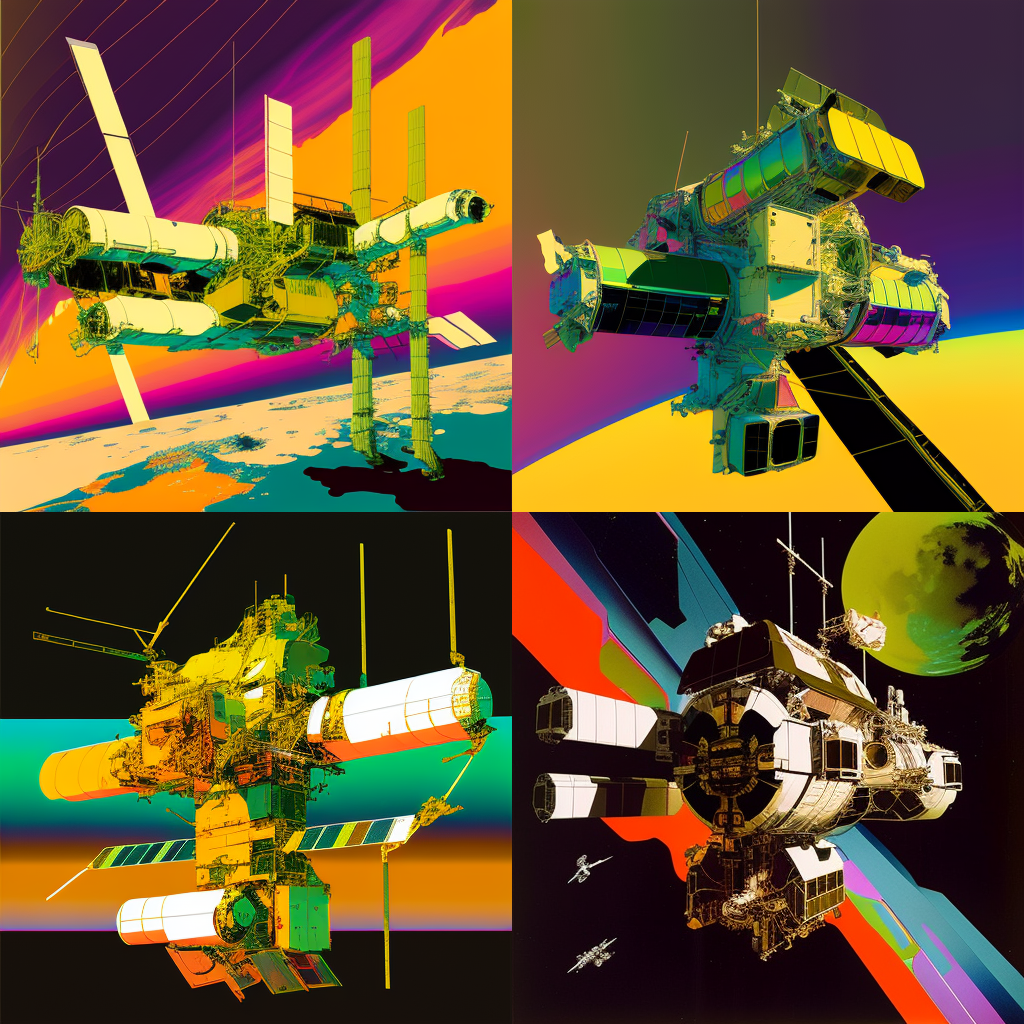
/imagine prompt: a space station, watercolor
/imagine prompt: a happy dog, mondrian
Specifying a Medium Tutorial
As you can see from the watercolour space station you can define a medium for the Midjourney image. This is probably the most important descriptor. The term generally works best when placed before the main idea of the prompt.
The medium can be a very vague term or quite specific. You could simply request a charcoal drawing or you could even specify the type of camera you are using to take the image. Below are some examples:
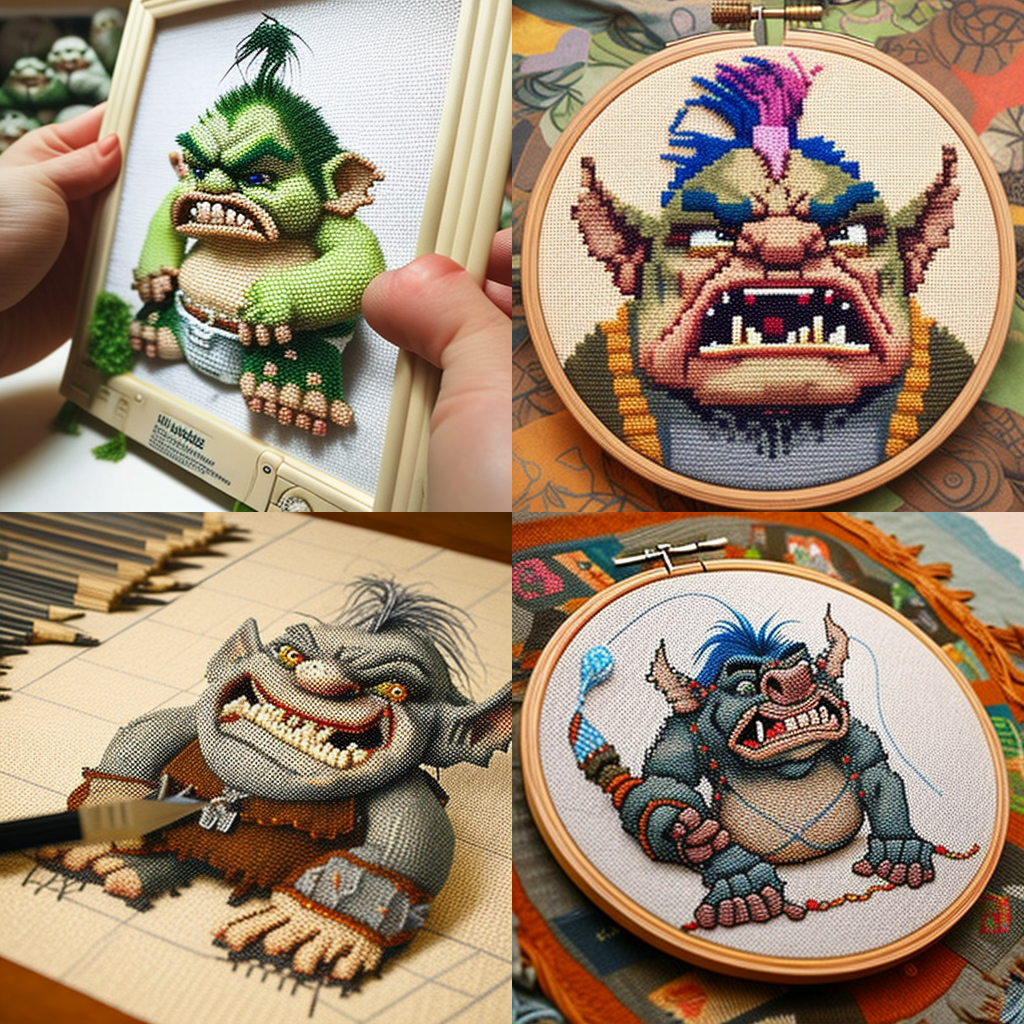
/imagine prompt: cross stitch of a troll
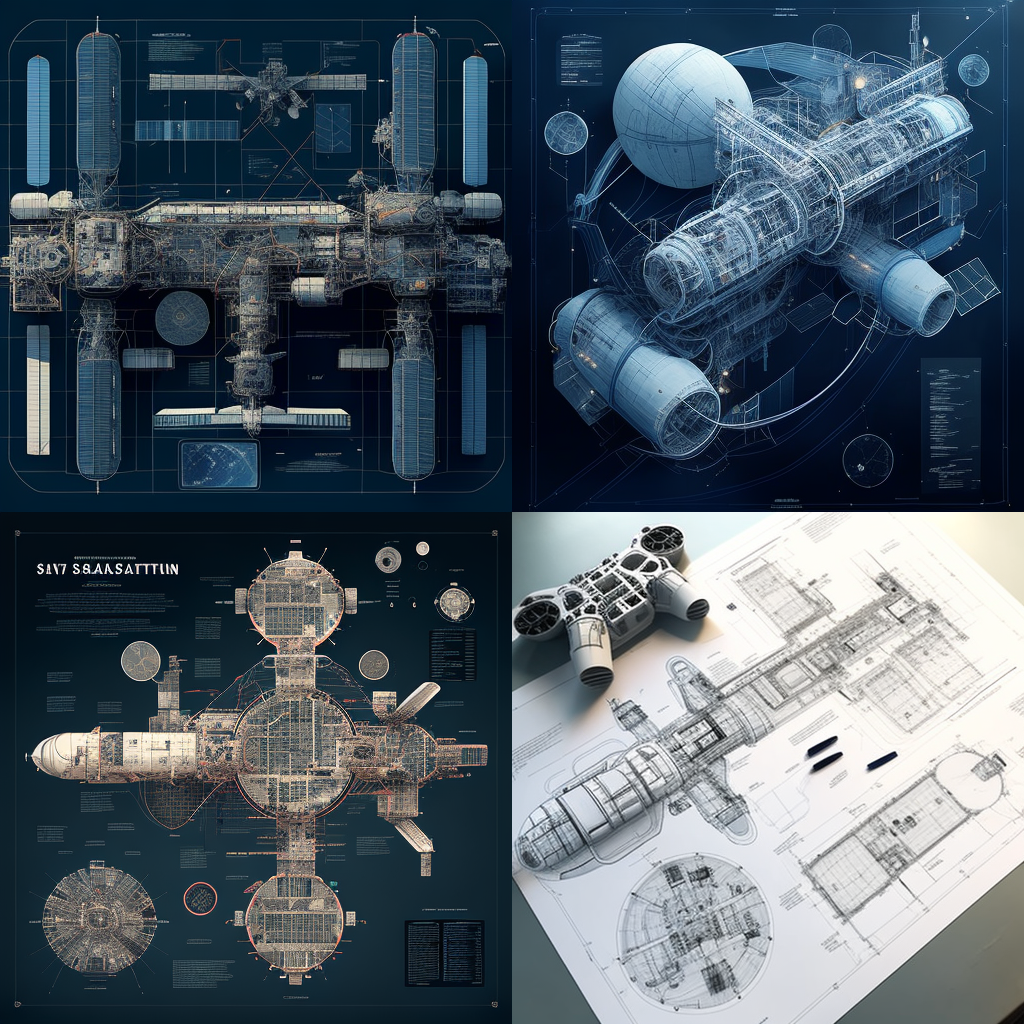
/imagine prompt : blueprints for a space station
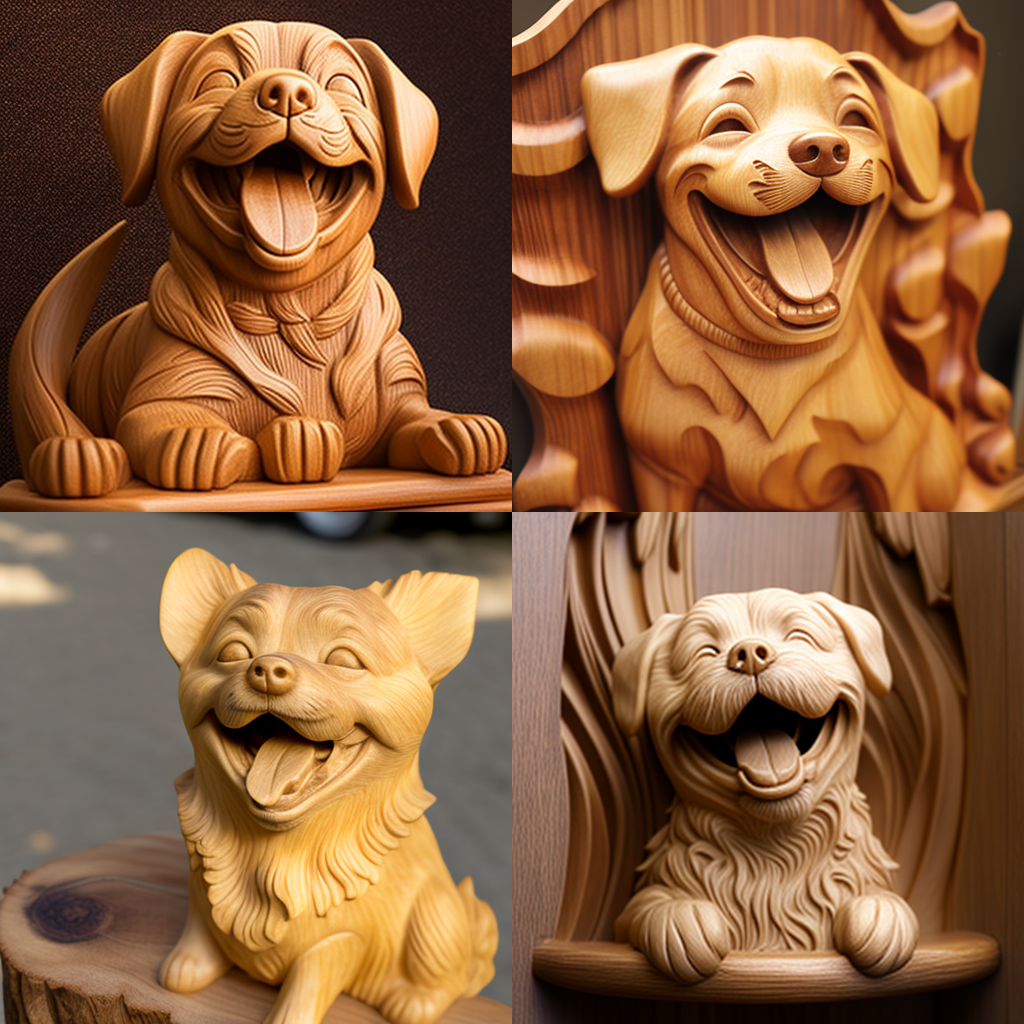
/imagine prompt: wood carving of a happy dog
Specifying the Camera Tutorial
The camera gives you your point of view, the lens specifies how the scene is specially presented etc. You can specify any type of camera from microscopy to satellite imagery. You can define focal traits such as bokeh or motion blue and beyond
I tend to find that sometimes if you get too specific about the camera – a camera will appear in the scene – but this is generally resolved by a reroll or two.
/imagine prompt: satellite imagery of a happy dog
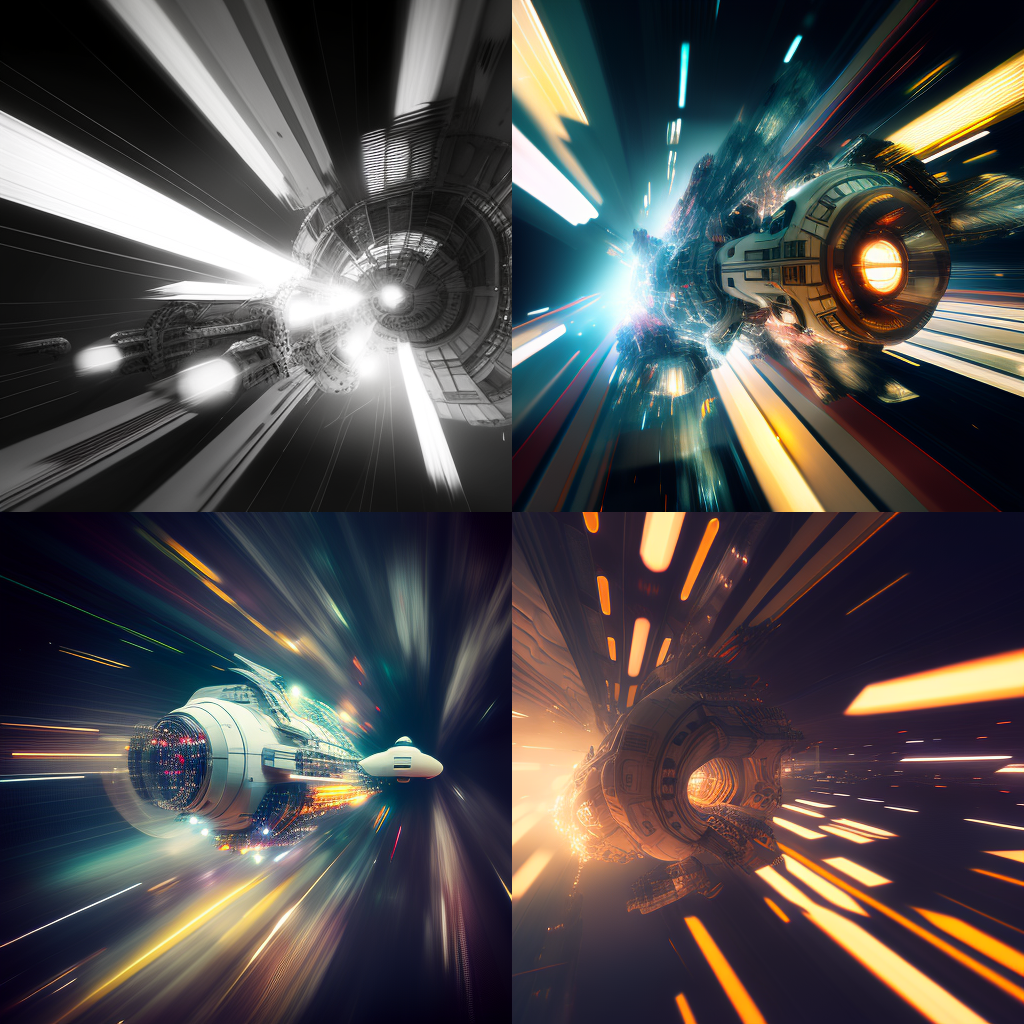
/imagine prompt: a space station, motion blur
/imagine prompt: a troll, microscopy.
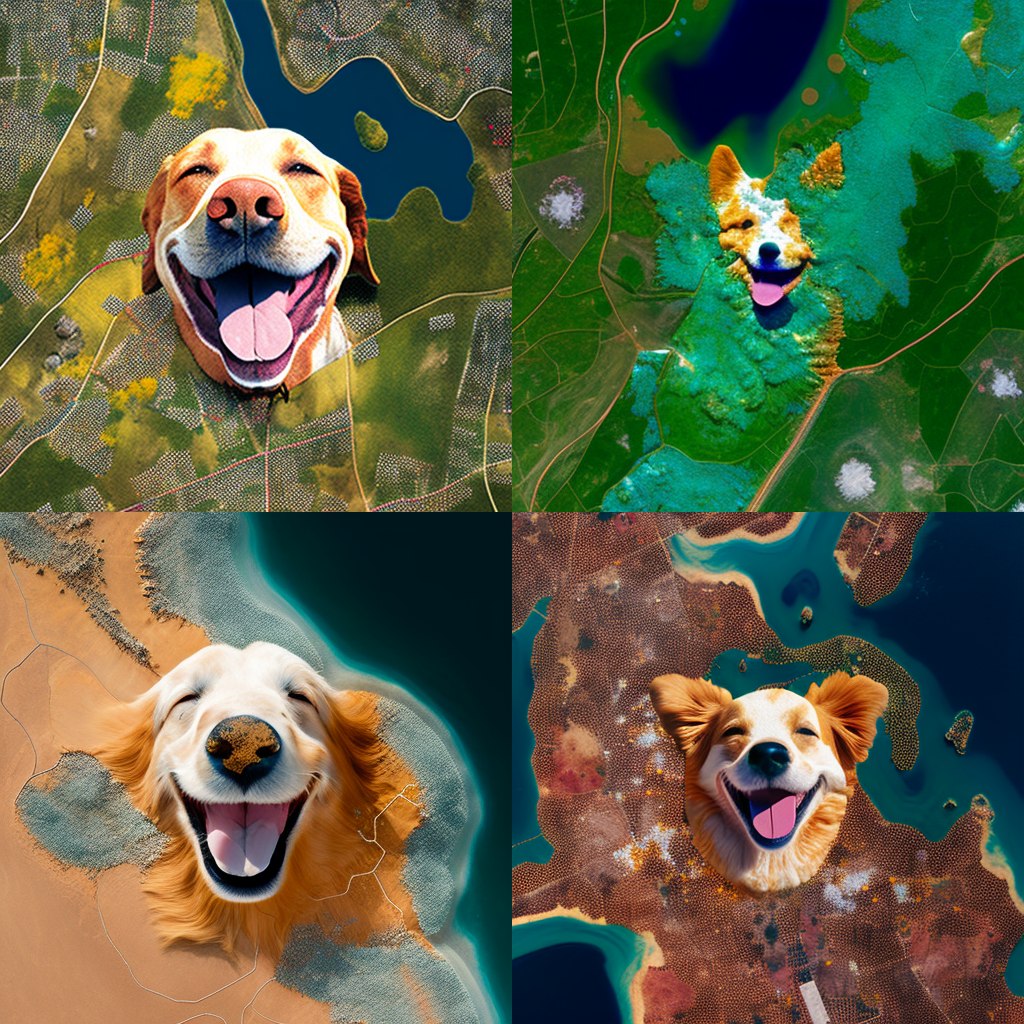
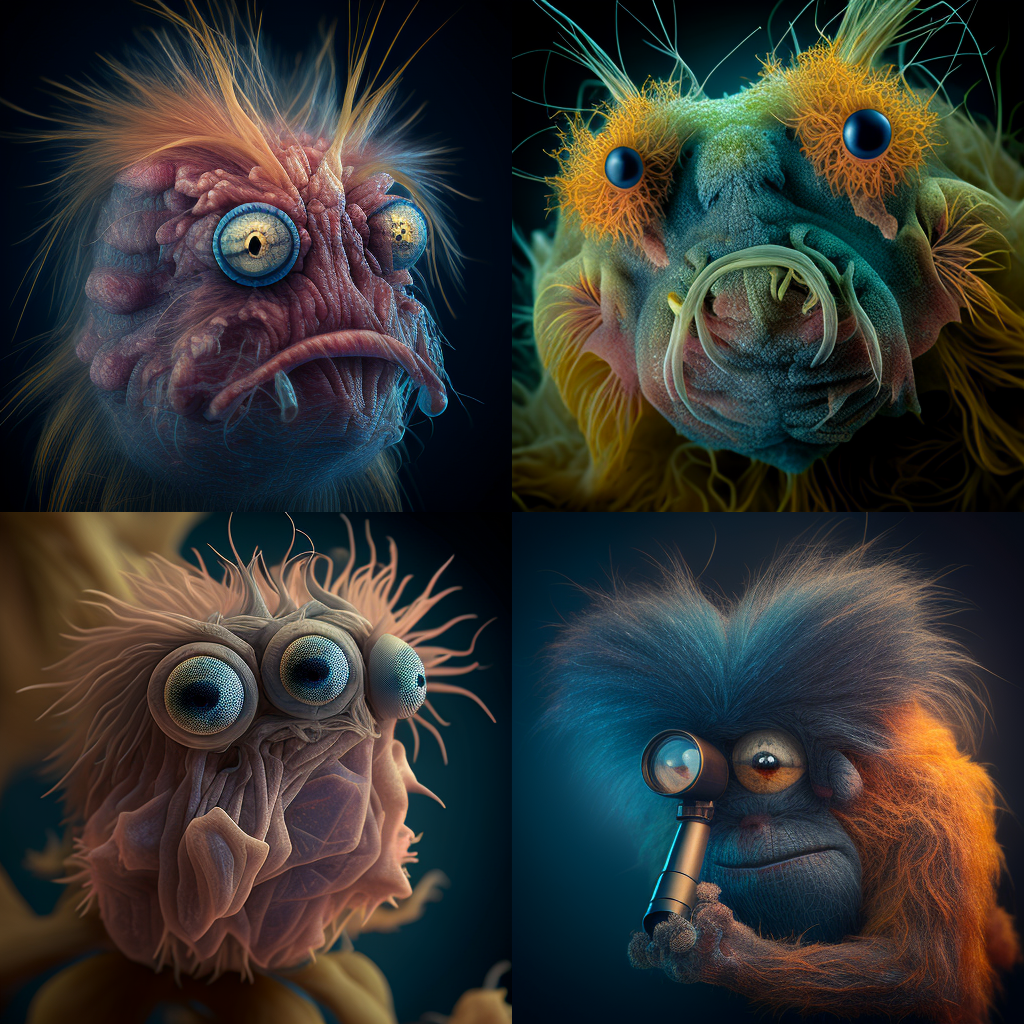
So as you can see the happy dog satellite imagery hasn’t really come out too well but Midjourney has very little reference material as to what a dog looks like from a satellite image. You can also see that the troll has a microscope in one of the images. However, generally, Midjourney has considered quite well how to display these images.
Specifying Lighting Tutorial
Lighting is an important part of any scene and the descriptor will control both your light and shadows. You can use movie scene and photography terms like contre-jour or film noir lighting or simply specify a time of day such as sunrise or sunset. Here we look at how image prompts are affected by lighting:
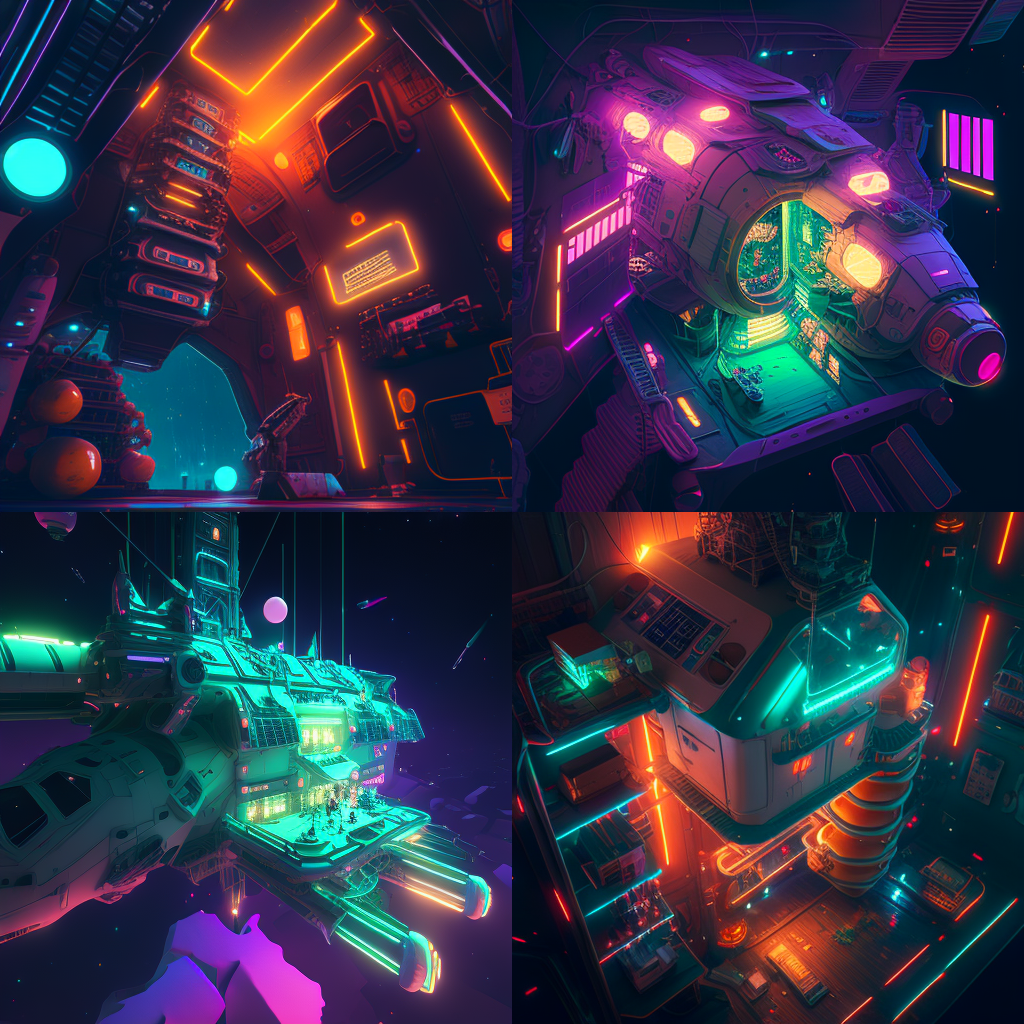
/imagine prompt: a space station, neon lighting
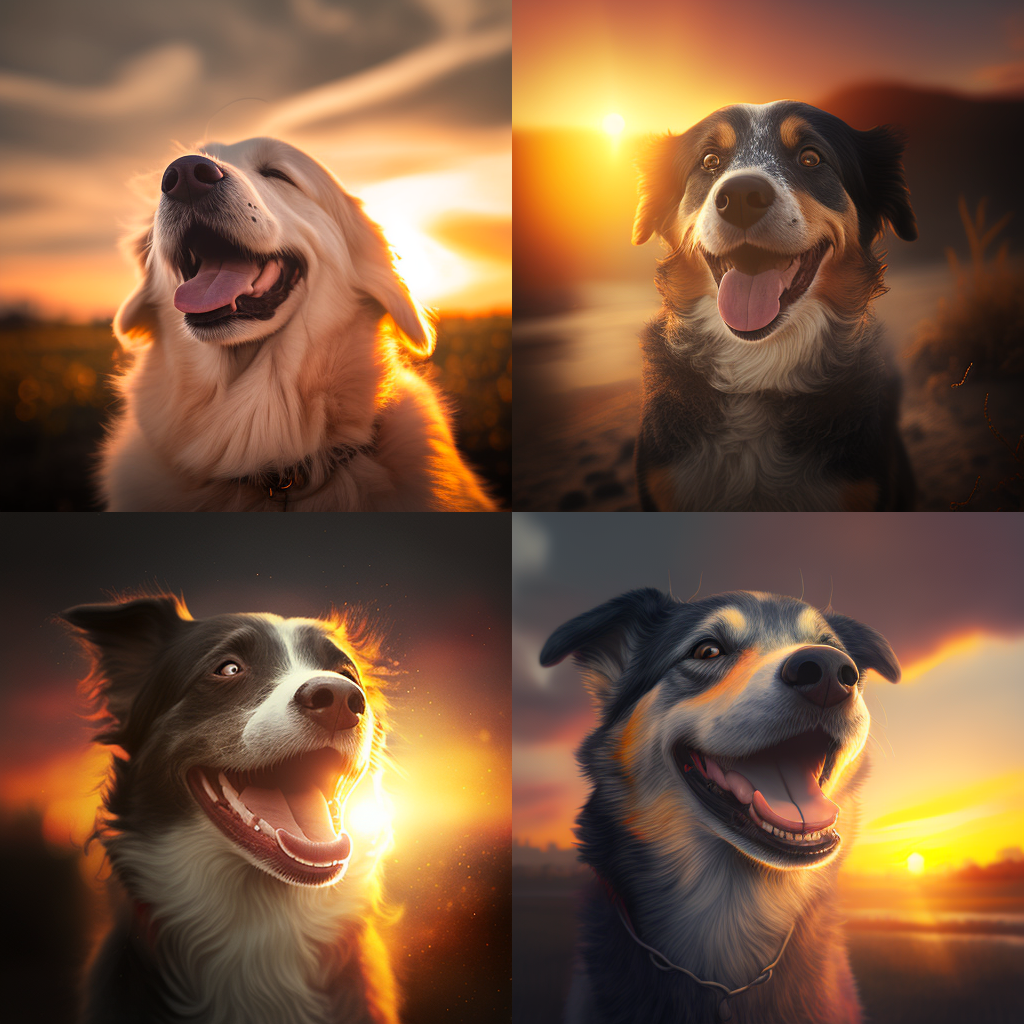
/imagine prompt: a happy dog, sunset lighting
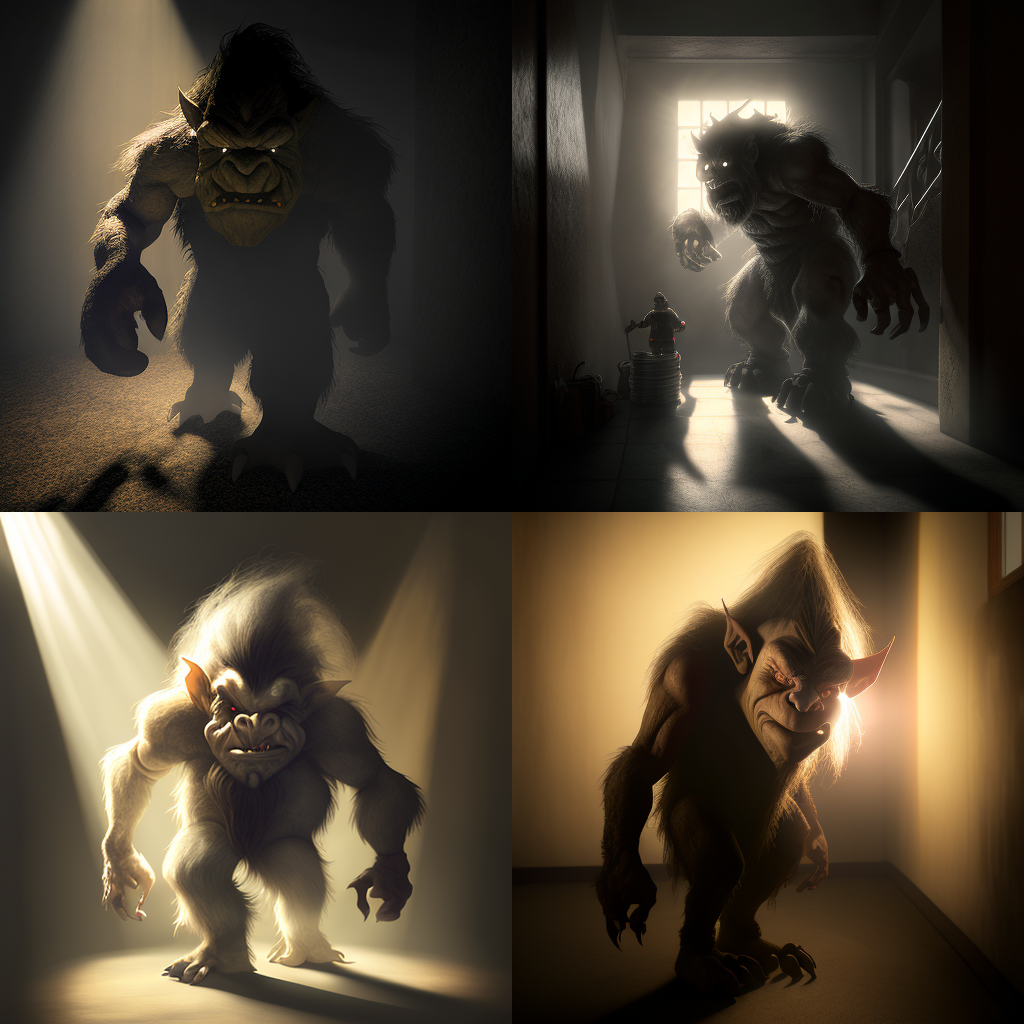
/imagine prompt: a troll, contre-jour lighting
Using Color Tutorial
If your image requires a higher degree of stylisation then you can always specify the colors to be used. This can be as simple as green or blue, or you can get more creative with your prompts such as vibrant colours or tie-dye colors.
/imagine prompt: a troll, greyscale
/imagine prompt: a happy dog, bright red
/imagine prompt: a space station, tie-dye color
Specifying the style of an Artist Tutorial
Midjourney is great at creating images in the styles of well-known artists. To give your prompts some greater artistic flair why not try out using an artist’s name as a descriptor:
/imagine prompt: a troll by Vincent Van Gogh
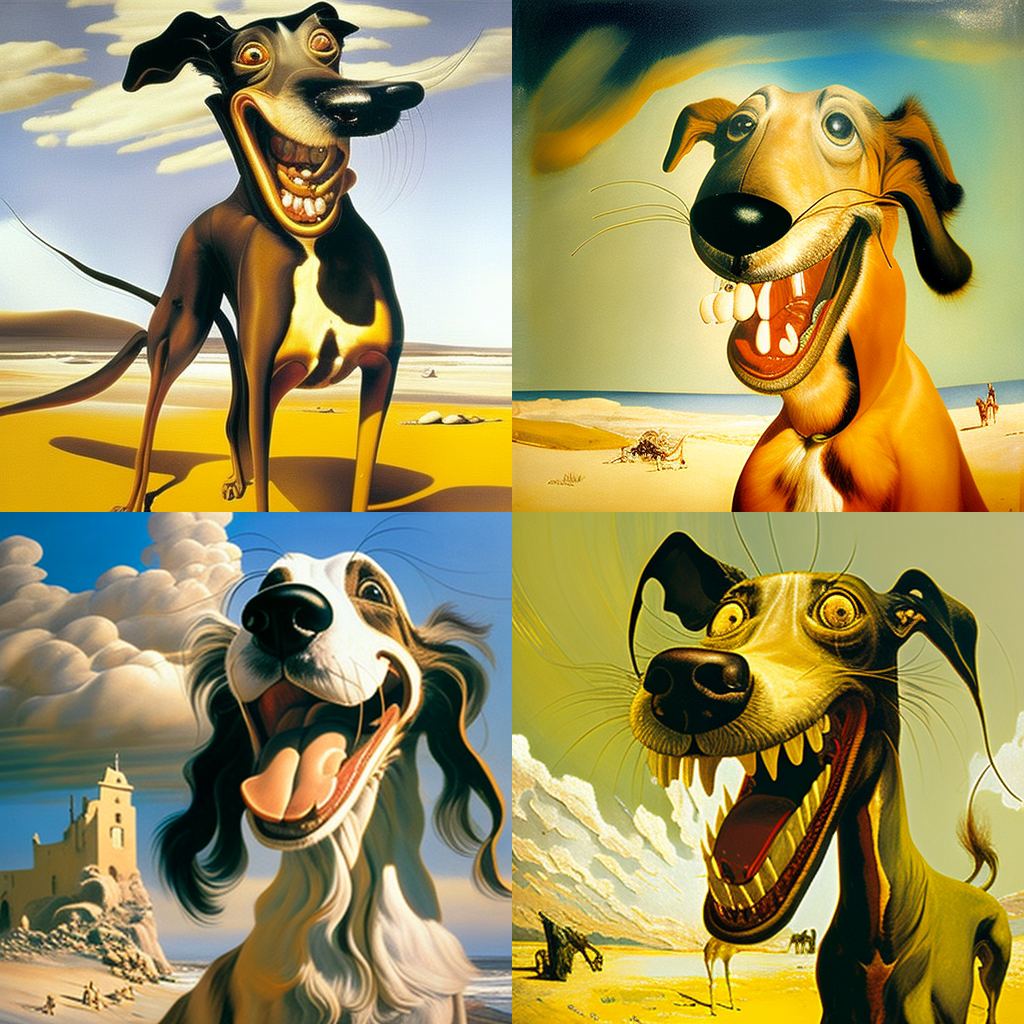
/imagine prompt: a happy dog by Salvador Dali
/imagine a space station by Andy Warhol
Using a Movie as stylisation Tutorial
If Midjourney has enough data on a movie that has a specific style to it you can get some great results with regard to colour and other elements. Sometimes this works well, especially with animated movies but movies that do not have a specific artistic style not so much.
Here are some prompts that give you some examples:
/imagine prompt: a happy dog in the style of the movie Aliens
/imagine prompt: a space station in the style of the movie Watership Down
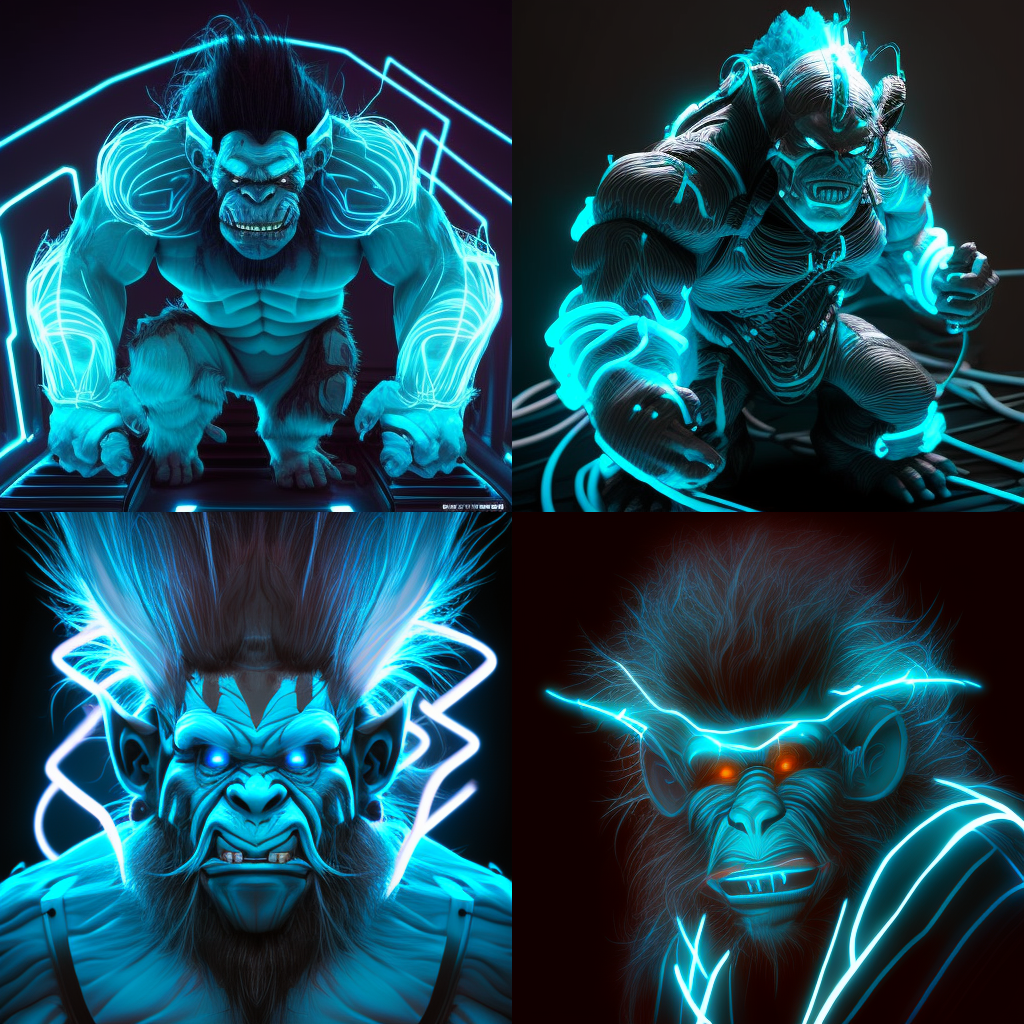
/imagine prompt: Imagine a troll in the style of the movie Tron
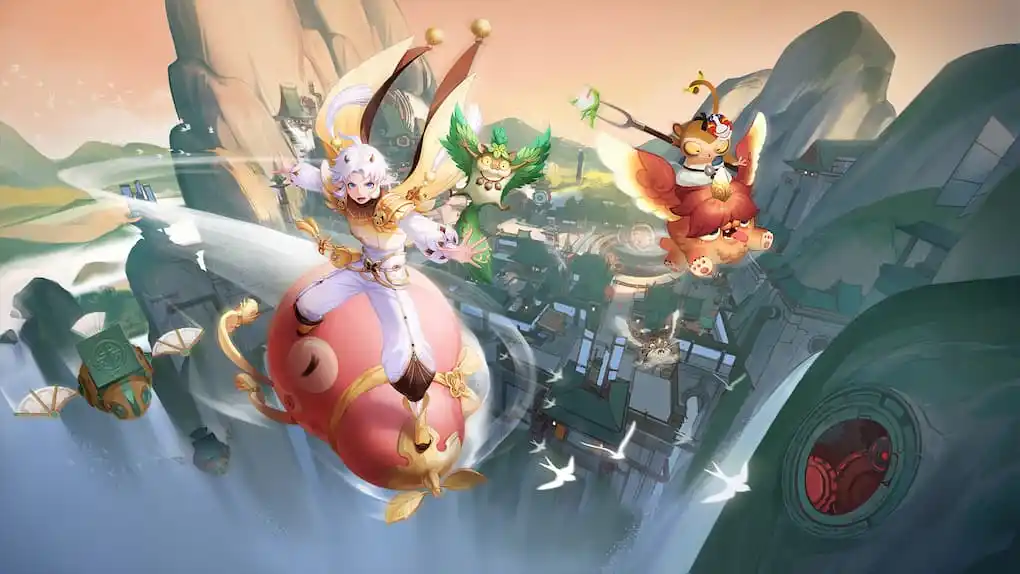
Using Games as Stylisation Tutorial
As games have advanced they have become increasingly artistic and are now generally considered a valid artistic medium. You can specify your favourite games to produce some really fantastic images. These do not need to be the latest games either. You can give your artwork a retro style too and make images in the style of some of those 80s and 90s classics.
Using Weights Tutorial
Using weights is a great way to subtly adjust the importance of aspects of an image. Let’s say you want an image of cats and dogs but you want more cats than dogs – then weights can help you.
Weights are applied to each aspect of an image and are specified by using a double colon. You can use negative weights but the sum of all weights must be a positive number.
Weights can go from -10000 to 10000 but I personally have never used a weighting above 5. It seems to work just fine for me. Weightings are relative so specifying dogs::500 and cats::100 is exactly the same as specifying dogs::5 and cats::1.
Let’s look at some dog and cat based examples:
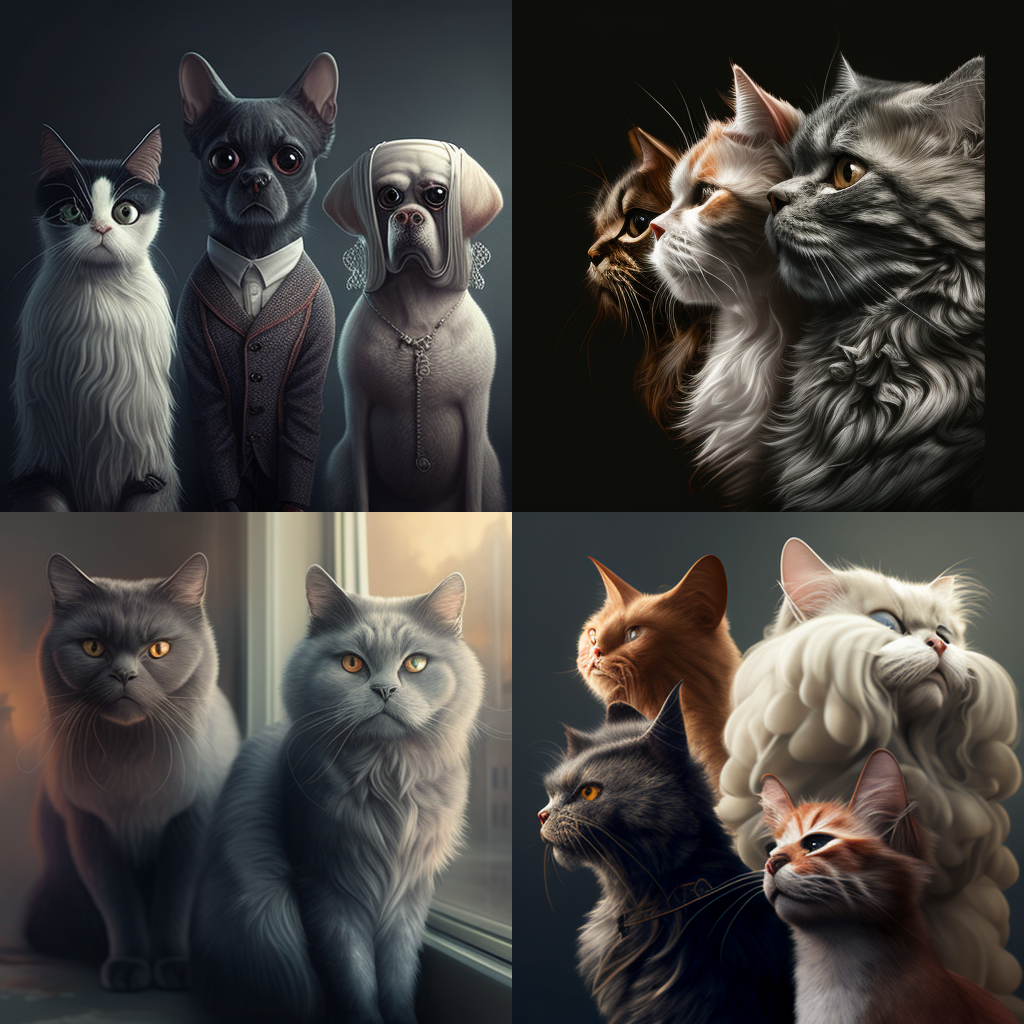
/imagine prompt: cats::2 dogs::1
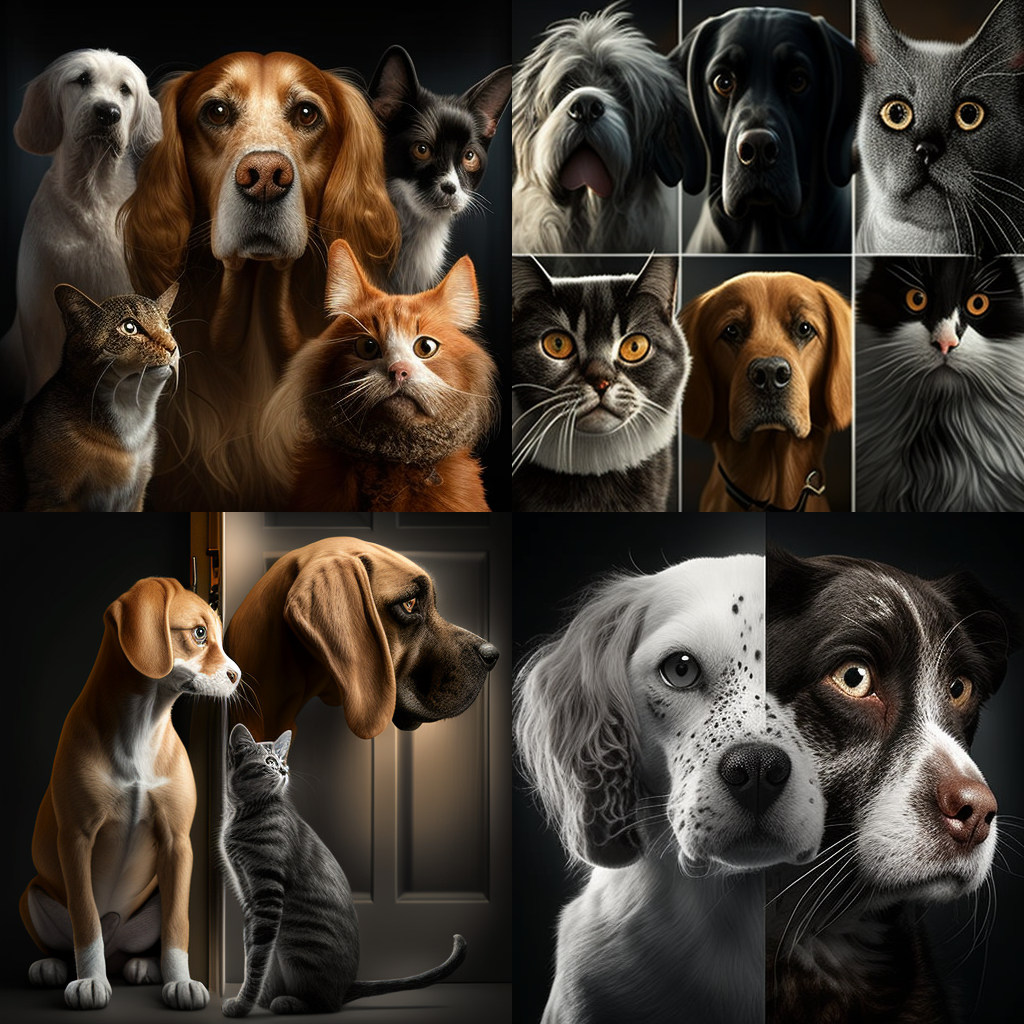
/imagine prompt: cats::1 dogs::2
/imagine cats::-0.5 dogs::1
You can also apply weightings to images as long as you specify version 3. when using –version 3 you must also specify –stylize XXXX where XXXX is a number between 625 and 60000 – here are our two reference images:
https://digitalandaiart.com/wp-content/uploads/2023/01/5440384453_4669d0096b_b.jpg https://digitalandaiart.com/wp-content/uploads/2023/01/GWalker_TAGuild_skeletor_on_the_disco_dance_floor._dslr_photo_b6345d4b-53bd-4aa3-8a92-7cfcbf076276-1024×683.png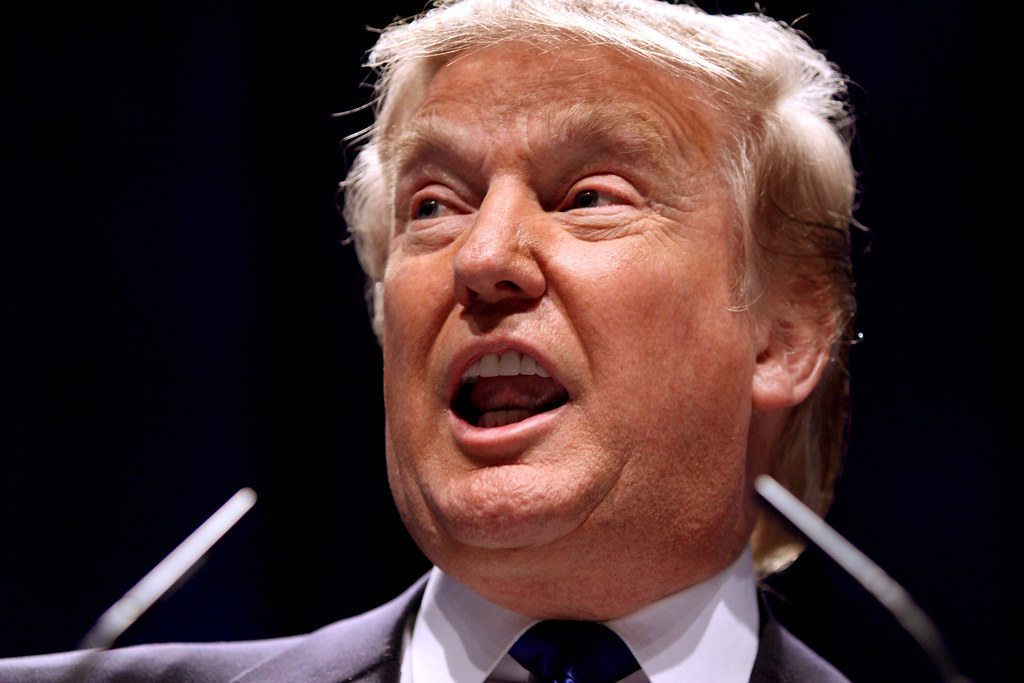
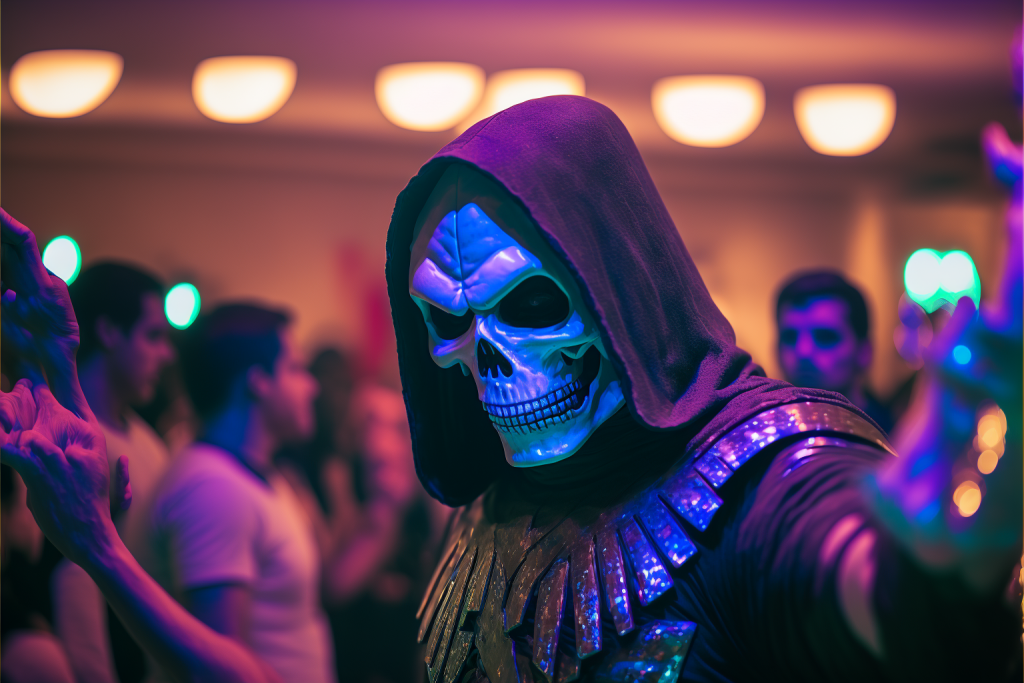
Look at what the following prompts create:
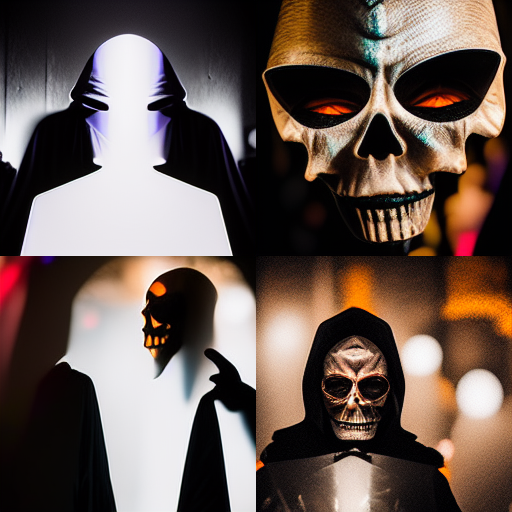
/imagine prompt: https://s.mj.run/TR4Eccb6u1s ::1 https://s.mj.run/Dvc19ezeH7c ::2 –version 3 –stylize 625
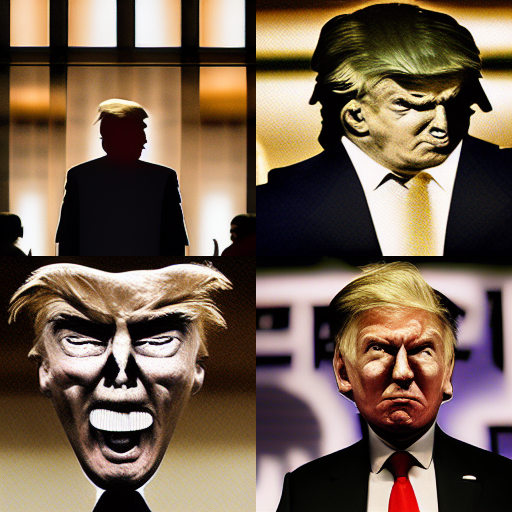
/imagine prompt: https://s.mj.run/TR4Eccb6u1s ::2 https://s.mj.run/Dvc19ezeH7c ::1 –version 3 –stylize 625
As you can see the resulting image is either weighted more towards Skeletor or Donald Trump depending on the weighting used.
Using Separators Tutorial
Prompts can be formatted in a range of ways that are all understood by Midjourney. The type of separators you use do not seem to make much of a meaningful difference to me – but I felt that this should be covered in this tutorial.
Comma (,) → A comma is a soft break in an idea, however, I have tested things with and without commas and saw little logical difference, so maybe this is just a good way to appease our brains so things look more organized.
Single Dash (-) → A single dash is said to be a good way to connect two or more terms into one idea. So while we all know “grandfather clock” is a big fancy clock, AI might think an old man, and a clock (maybe not, but just as an example). So you could type “grandfather-clock” to tie the words into one idea. That said, some test
Others → Sometimes I see others using periods, brackets, parenthesis, and other odd punctuations in their prompts. Again, I don’t see any logical reason to add more punctuation when it doesn’t really steer the image. I assume the AI pretty much ignores them anyway. Maybe skip that unless you like to hit your keyboard more than you need to. I usually run tests when I see someone doing (((this))) to see if it does anything, and usually, it doesn’t. Maybe they are just getting their AIs mixed up… Either way, below are a bunch of tests using the same seed so you can compare grids for yourself:
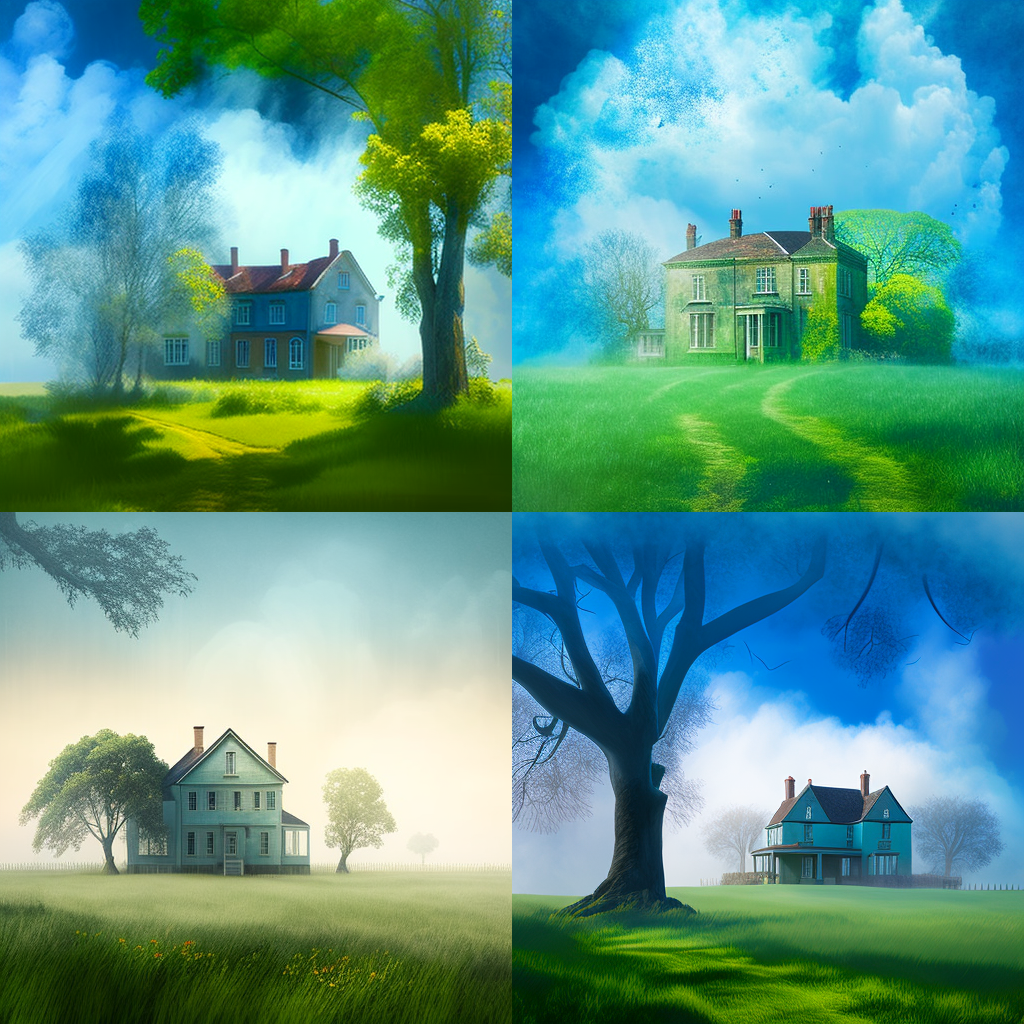
/imagine prompt: a country house blue skies green grass misty
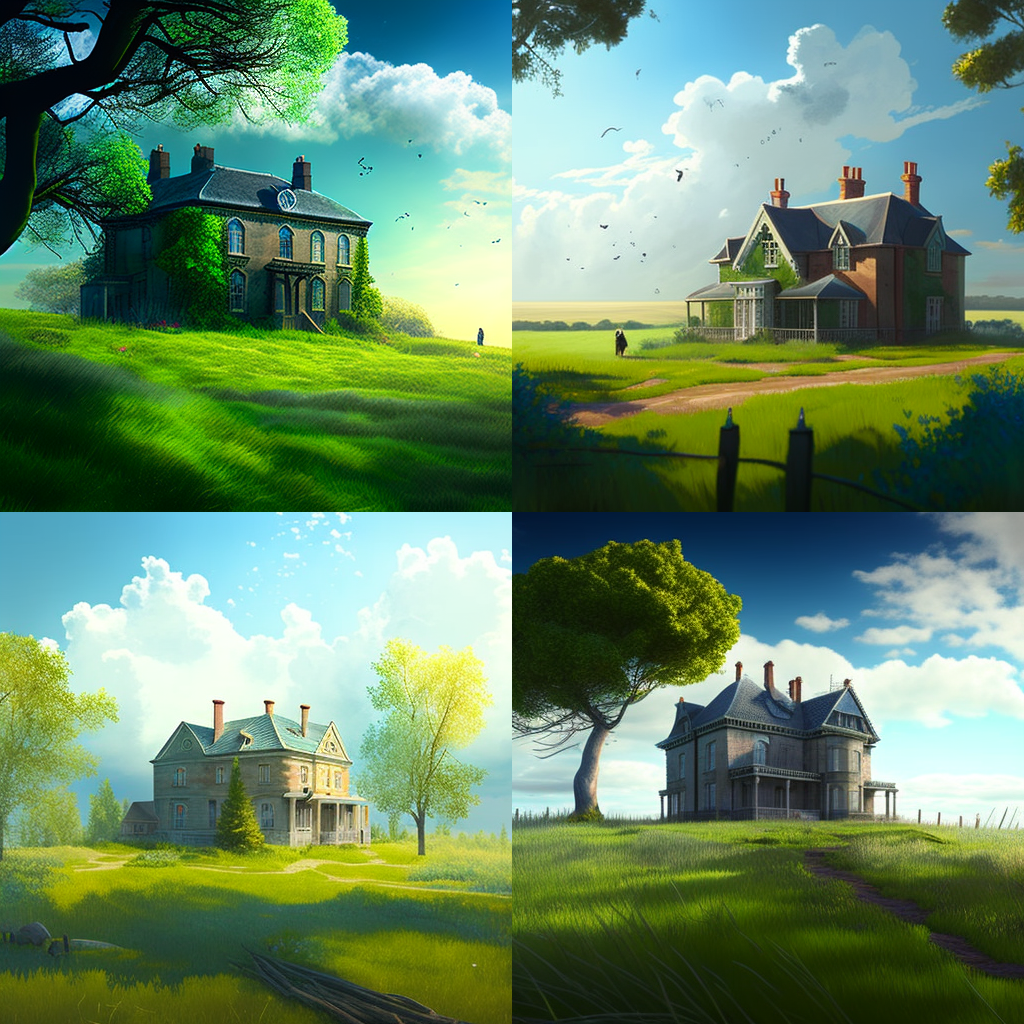
/imagine prompt: a country house + blue skies + green grass + misty
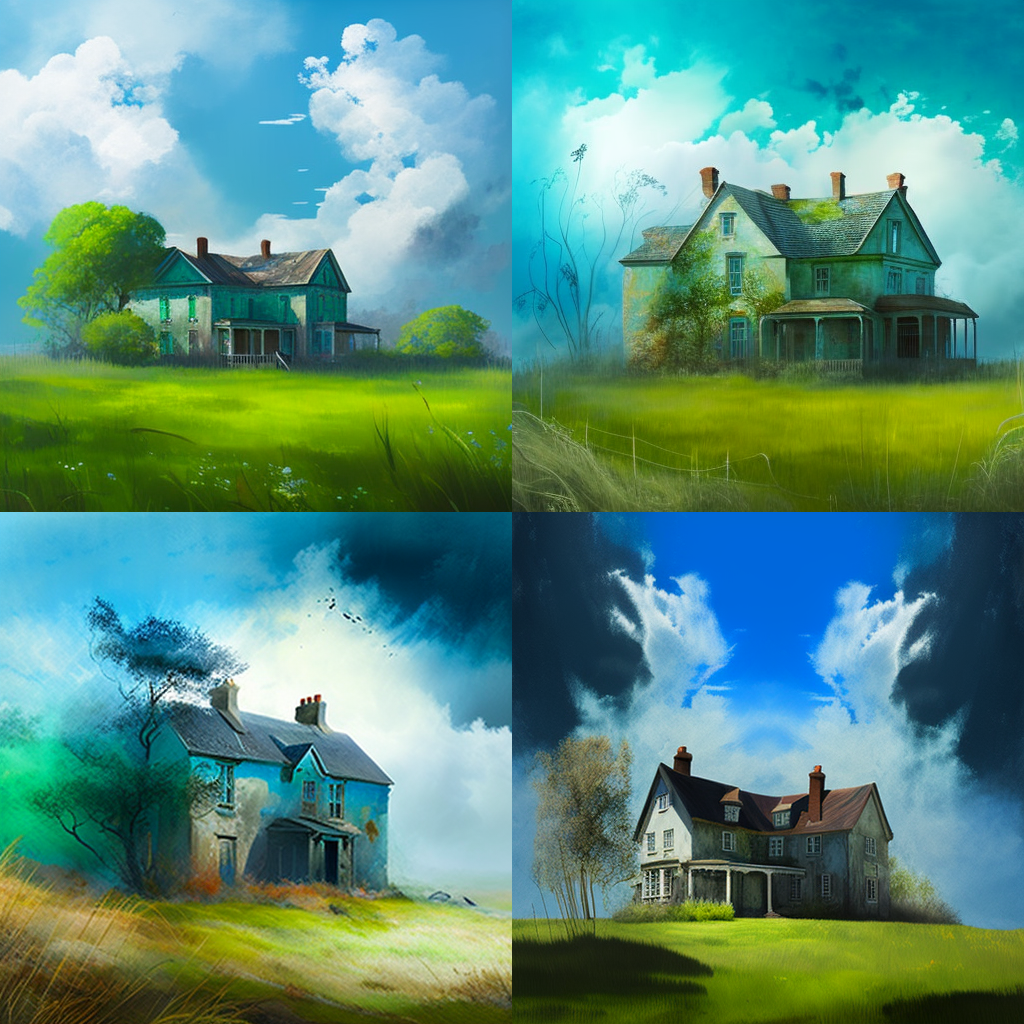
/imagine prompt: a country house – blue skies – green grass – misty
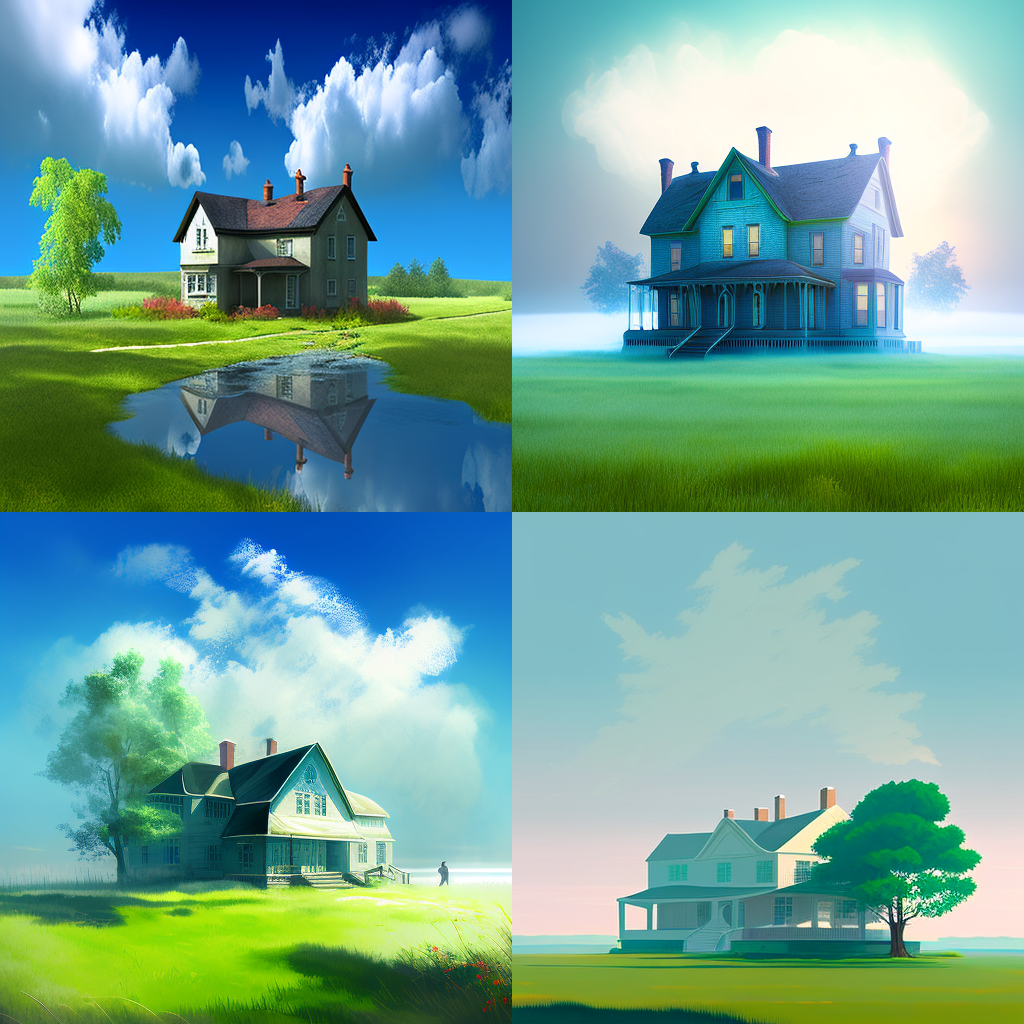
/imagine prompt: (a country house) (blue skies) (green grass) (misty)

/imagine prompt: acountryhouseblueskiesgreengrassmisty
Using Image Prompts Tutorial
In Version 3 and below, MidJourney uses image input for style, color, and so on – so don’t expect to use a photograph of something and get a similar image in return. That said, the new Version 4 algorithm is amazingly powerful for image prompts! Though sometimes hit or miss, you can do a lot with them. I sometimes have luck with faces (like my self-portraits below) however I really find image prompts to be useful to define the look of a landscape or altering the design of the output.

Upload
(click + and select a photo)

Copy URL
(right click Open Original)

Paste
(enter URL as a prompt)
Uploading
Since image prompts use URL links, the easiest way to use an image is to send a JPG to the Bot, then click the image, click Open Original, then copy that URL into your prompt. If you really want parts of the image to be carried over use weights, and maybe describe the specific details in your prompt after the URL.
You can also feed a MidJourney image you make back into an image prompt. Do the same thing, click on the MidJourney image, Open Original, then copy that URL. Please be aware, however, that image weights only work with version 3 of Midjourney.
Image Blending
/blend → You can use the /imagine command, but the easiest way to blend multiple images is the /blend command. Simply type this and you can drag and drop images into the prompt. No need to upload and copy links!
Image Blending can be fun, but also functional. For example, you can mix two photographs to combine elements or you can attempt to alter the material or style of an image by combining it with a specific look.
Personally, I find the /blend command quite limited. However, it does take some of the complexity out of the whole process and is a good tool for beginners.
